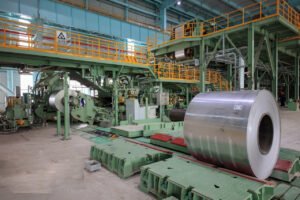
The Cold-Rolled Stainless Steel Plate QA Checklist: Avoid These 11 Common Defects
Defective steel plates cause costly project delays and failures. These hidden flaws can compromise entire structures and ruin your budget. A rigorous QA checklist[^1] is your best defense against them.
A comprehensive QA checklist for cold-rolled stainless steel plates is a systematic tool that helps inspectors identify and prevent common defects. It ensures material integrity, meets specifications, and protects your project's budget and timeline by standardizing the quality control process from start to finish.
In my role at MFY, I've seen firsthand how a small oversight in quality control can snowball into a massive problem. The difference between a successful project and a failed one often comes down to the rigor of the inspection process. A simple checklist might seem basic, but it's the foundation of a resilient and reliable supply chain. Let's break down why it's so critical and how you can build one that truly protects your operations.
Why is a QA Checklist Crucial for Cold-Rolled Stainless Steel Plates?
Small material defects often go unnoticed during a quick visual check. This can lead to huge structural failures or financial losses later on. A checklist makes your inspection process systematic and foolproof.
A QA checklist is crucial because it standardizes the inspection process, preventing costly errors and ensuring every plate meets strict quality and safety standards. It transforms quality control from a subjective task into a reliable, repeatable, and documented procedure, safeguarding your investment.
In the global steel trade, consistency is everything. A checklist does more than just catch errors; it builds trust between the supplier and the buyer. I remember a client in Germany working on a high-precision manufacturing line. Their previous supplier sent a batch of plates that were visually fine but had slight, inconsistent thickness variations. It brought their entire production to a halt for days. When they switched to us, the first thing we shared was our comprehensive QA report, backed by a checklist they could verify. It wasn't just about selling them steel; it was about selling them confidence. This is where a checklist evolves from a simple tool into a strategic asset.
Beyond Compliance: A Strategic Asset
Think of a QA checklist not as a chore, but as a data-gathering tool. Each checkmark, each measurement, is a data point. When you compile this data over time, you can identify trends, pinpoint recurring issues with certain specifications, and even refine your own production or construction processes. At MFY, we use this data to drive continuous improvement in our mills. It transforms our QA process from a cost center into a value driver that enhances our agility and gives us a competitive edge. It’s about being proactive, not just reactive.
Mitigating Financial and Reputational Risk
The cost of a defect is never just the cost of the material itself. It includes labor for replacement, project delays, and potential contractual penalties. Worst of all, it can damage your company's reputation. A systematic checklist, rigorously applied, is your insurance policy against these risks. It provides a clear, documented record that the material met all required standards before it was accepted, protecting you from liability and ensuring the integrity of your final product.
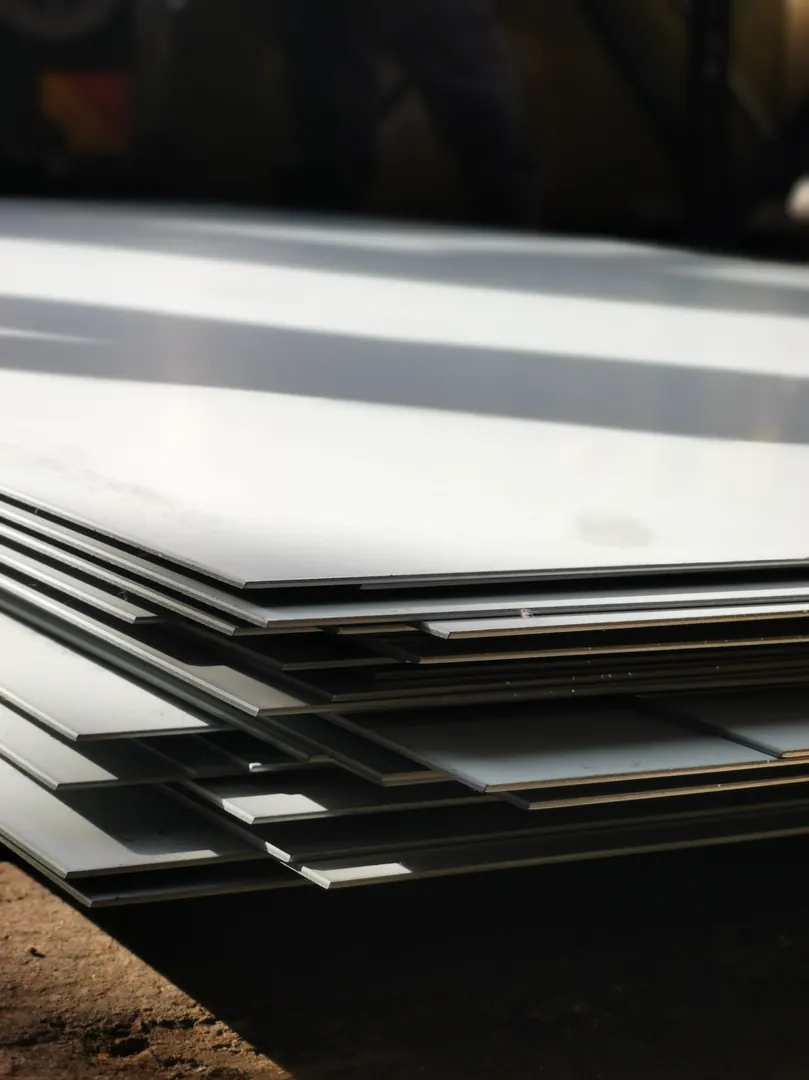
What Are the Most Common Defects in Cold-Rolled Stainless Steel Plates?
You know that defects in steel plates exist. But can you confidently name and spot all of them before they become a problem? We have identified the 11 most common issues to watch for.
The most common defects in cold-rolled stainless steel plates include surface issues like scratches, roll marks, and rust spots, as well as dimensional inaccuracies such as incorrect thickness or width. Other key defects are edge waves, center buckles, and inconsistent mechanical properties.

Understanding what to look for is half the battle. Many of these defects are subtle and can be easily missed without a structured approach. They generally fall into three categories: surface, dimensional/shape, and mechanical. Each category has a direct impact on the final application, whether it's aesthetics for architectural panels or structural integrity for industrial equipment. I once had to reject an entire container of material destined for a kitchen appliance manufacturer in Mexico. The surface finish had minor, almost invisible, roll marks. To us, it was a clear defect. To the original mill, it was "within tolerance[^2]." Having a clear, shared checklist with defined standards prevents these kinds of costly disagreements and ensures everyone is on the same page from the start.
Categorizing the Defects
To make your checklist effective, it helps to group potential defects. This ensures your inspectors cover all bases logically. Here is a simple breakdown of the 11 most critical defects we track at MFY.
| Category | Defect Name | Description |
|---|---|---|
| Surface | Scratches | Linear abrasions on the surface. |
| Surface | Roll Marks | Repetitive patterns from dirty or damaged rollers. |
| Surface | Pitting/Corrosion | Small cavities or rust spots indicating contamination. |
| Surface | Discoloration | Uneven color, stains, or heat tint. |
| Dimensional | Thickness Deviation | Plate thickness is outside the specified tolerance. |
| Dimensional | Width/Length Inaccuracy | Plate dimensions do not match the purchase order. |
| Shape | Edge Waves | Wavy or rippled edges caused by internal stress. |
| Shape | Center Buckle | A bulge or wave in the center of the plate. |
| Shape | Camber | The curvature or bow along the edge of the plate. |
| Mechanical | Improper Hardness | The material is too soft or too hard for the application. |
| Mechanical | Poor Tensile Strength | The material fails under specified tension loads. |
The Domino Effect of Minor Flaws
A single, minor flaw can have a major impact. For example, a slight center buckle might seem insignificant, but it can cause major problems during automated cutting or stamping processes, leading to equipment jams and wasted material. Similarly, a surface scratch isn't just a cosmetic issue; it can be a starting point for corrosion, compromising the long-term durability of the stainless steel. Your checklist must treat every potential defect seriously.
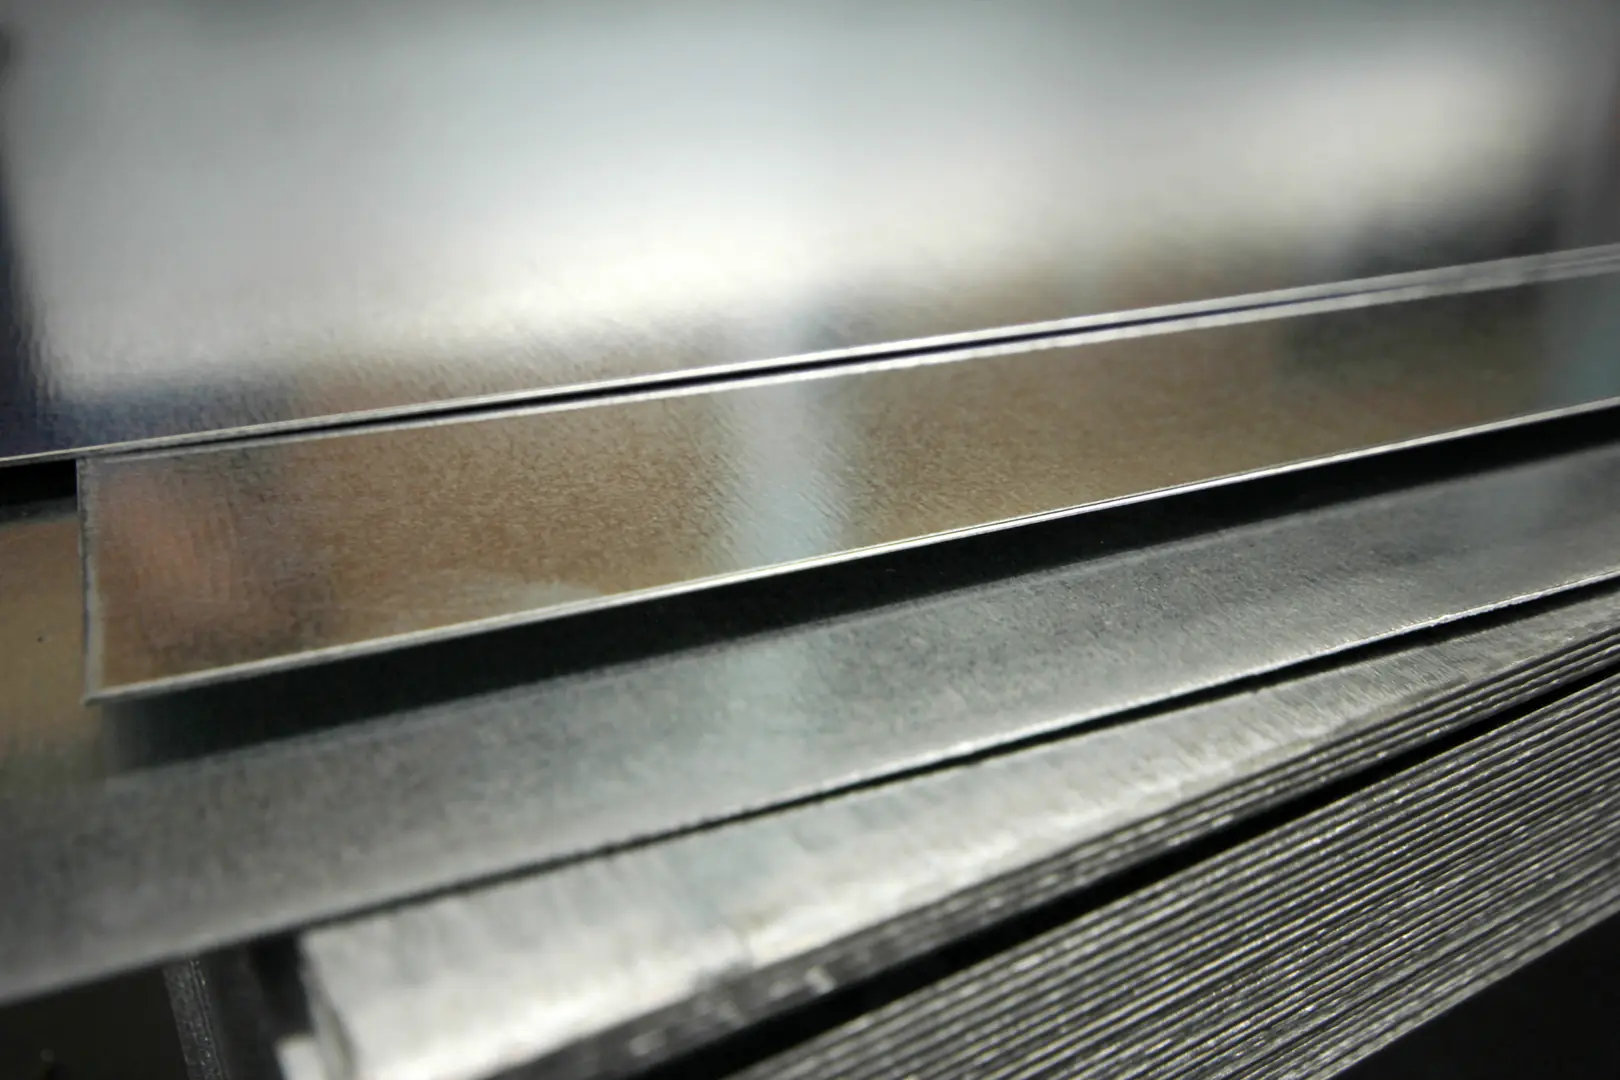
How Can You Systematically Inspect for Surface Defects?
Relying on a quick visual check can be subjective and inconsistent. Different inspectors might see different things, leading to unreliable results. A systematic process removes the guesswork and ensures uniformity.
To systematically inspect for surface defects, use a multi-step process. Start with proper lighting and a clean surface. Then, conduct a visual inspection from multiple angles, followed by tactile checks. Finally, use measurement tools and magnification for verification of any suspected flaws.

A systematic approach is non-negotiable for quality assurance. It’s not about having "good eyes"; it's about having a good process. We train our teams at MFY to follow a strict protocol because it eliminates human error and ensures that a plate inspected in our Shanghai facility is assessed to the exact same standard as one inspected by our client in Dubai. The process should be simple, repeatable, and documented. This is especially important for surface defects, where appearance is critical. For example, a #4 brushed finish has a specific look, and any deviation, like a scratch or a patch of discoloration, can render the entire plate useless for its intended architectural or appliance application.
Step 1: Preparation and Visual Sweep
The inspection environment is just as important as the inspection itself. Ensure the plate surface is clean and dry. Use bright, angled lighting to reveal any subtle imperfections like roll marks or light scratches that might be invisible under direct overhead light. The first visual sweep should be done from a distance to spot larger issues like discoloration, and then up close from several angles. The inspector should walk the length of the plate, looking for any inconsistencies in the finish.
Step 2: Tactile and Instrumental Analysis
After the visual sweep, the next step is to use your hands. Run a gloved hand lightly over the surface to feel for any roughness, pits, or raised areas that weren't visible. For suspected scratches or pits, use a profilometer[^3] or a simple magnifying glass to determine the depth and severity. This is where advanced technology can be a game-changer. We are increasingly exploring automated optical inspection (AOI)[^4] systems that use high-resolution cameras and AI to scan surfaces and flag deviations from a "golden sample." This brings an incredible level of precision and speed to the process, turning QA into a truly data-driven function.
How Can You Prevent Dimensional Inaccuracies?
Dimensions being off by just a few millimeters is a common problem. But this small error can halt an entire assembly line or construction project. Prevention starts with calibrated tools and crystal-clear specifications.
Prevent dimensional inaccuracies by establishing clear, documented specifications with your supplier from the start. Regularly calibrate all measurement tools, such as micrometers and calipers, and implement mandatory verification checks at key production stages and upon final receipt of the material.
Dimensional accuracy is the silent pillar of quality. While a surface scratch is easy to see, a plate that is 0.1mm too thick is an invisible threat to automated manufacturing processes. I worked with an automotive client in the US who was having issues with their stamping line. The problem was traced back to inconsistent steel thickness from their supplier. The solution wasn't just about better inspection upon arrival; it was about improving the communication and process with the supplier. Prevention is always better than detection. It's cheaper, faster, and builds a stronger partnership.
The Power of Clear Specifications
The first line of defense is a detailed purchase order. Don't just specify "3mm thickness"; specify "3mm thickness with a tolerance of +/- 0.05mm." The more detailed you are, the less room there is for error or misunderstanding. This document should be the foundation of your QA checklist. At MFY, we work closely with our clients to define these tolerances upfront. We then ensure our mill test certificates (MTCs)[^5] provide precise data for every batch, including thickness, width, length, and camber, so the client has full traceability and verification.
The Role of Calibration and Verification
A measurement tool is only as good as its last calibration. All micrometers, calipers, and tape measures must be on a regular calibration schedule. This is a simple but often overlooked step. Your checklist should include a verification point: "Confirm tool calibration date is current." The second part is performing the checks. Measurements shouldn't just be taken at the corner of a plate. For thickness, you should measure at multiple points—corners and center—to check for uniformity. For length and width, measure at both ends. This simple cross-verification process can catch issues like crowning or tapering before the material enters your production.
What Does a Final QA Checklist Review Involve?
You've done all the individual checks on the list. But without a final, formal review, critical data can be lost or ignored. A final sign-off consolidates findings and ensures full accountability.
A final QA checklist review involves compiling all inspection data, verifying that every check has been completed, and cross-referencing findings against the original purchase order and specifications. It culminates in a formal sign-off, creating a permanent record for traceability and accountability.
The final review is where a checklist becomes a permanent record. It’s the moment of truth where you formally accept or reject a batch of material. This step should never be rushed or delegated. It’s the formal confirmation that the stainless steel you are about to use in your project or product meets every single one of your standards. It closes the loop on the quality process and provides the documentation needed to prove due diligence was followed. For us at MFY, this final report is a key part of our service. It's our promise of quality, captured on paper.
From Checklist to Data-Driven Insights
The signed checklist is more than just a piece of paper for the filing cabinet. It is a valuable source of data. By analyzing these reports over time, you can rate supplier performance, identify common failure points, and make smarter purchasing decisions. For example, if you notice a particular supplier consistently delivers material that is on the lower end of the thickness tolerance, you can address it with them or adjust your own processes accordingly. This is how you leverage your QA process for strategic advantage. It allows you to move from simply catching defects to preventing them systemically across your entire supply chain.
Creating a Culture of Quality
Ultimately, the final review reinforces a culture of quality within your organization. When every team member knows that there is a formal, documented sign-off process, it raises the stakes for everyone involved. It communicates that quality is not just the inspector's job; it's everyone's responsibility. This final step ensures that the standards you set are the standards you keep, building a reputation for reliability and excellence in everything you do.
Conclusion
A robust QA checklist is more than a tool; it's a strategic asset. By systematically identifying and preventing defects in cold-rolled stainless steel plates, you protect your projects, enhance efficiency, and build a more resilient supply chain. Quality is not an accident; it's a process.
Have Questions or Need More Information?
Get in touch with us for personalized assistance and expert advice.