The Definitive Guide to Cleaning Stainless Steel Sheets for Pre-Installation
Improper cleaning ruins a project's finish and budget. This leads to corrosion and costly future repairs. Follow our definitive five-step guide for perfect, long-lasting results every time.
Properly cleaning stainless steel sheets involves gathering the right materials, inspecting for stains, applying a suitable solution, gently scrubbing with the grain, rinsing thoroughly, and drying completely. This process is critical for preventing water spots, ensuring long-term corrosion resistance, and preserving aesthetic quality.
As the Global Business Director at MFY, I've seen countless high-stakes projects succeed or fail based on one often-overlooked detail: pre-installation preparation. Many in our industry see cleaning as a simple chore, a box to tick before the real work begins. But I am here to tell you that this mindset is a costly mistake. Proper cleaning is not just about aesthetics; it is a crucial phase that directly impacts the material's longevity, performance, and the overall return on your investment. Let’s walk through the process step-by-step, not just as a 'how-to', but as a 'why-to', so you can protect your assets from day one.
What Cleaning Materials Are Necessary?
Starting without the right tools wastes time. This can lead to ineffective cleaning or, worse, permanent surface damage. Gather these simple, effective materials first for a smooth process.
You will need soft microfiber cloths, non-abrasive sponges, a bucket of warm water, a mild soap or detergent, and optionally, a specialized pH-neutral stainless steel cleaner. Crucially, you must avoid any abrasive materials like steel wool or harsh chemicals like bleach.

The choice of materials is the foundation of a successful cleaning protocol. It’s not about finding the strongest cleaner, but the right cleaner. The goal is to remove contaminants without disturbing the passive chromium oxide layer[^1] that gives stainless steel its signature corrosion resistance. Using the wrong tools can introduce contaminants or create micro-scratches[^2] that become sites for future corrosion, completely undermining the purpose of cleaning in the first place. At MFY, we advise our clients to think of this step as preparing a surgical theater—precision and the right tools are non-negotiable. It’s a core part of our commitment to ensuring the quality we produce is the quality you install.
Recommended Materials
The best tools are often the simplest. Your primary kit should be designed for gentle but effective cleaning.
| Материал | Назначение | Why It's Recommended |
|---|---|---|
| Microfiber Cloths | Wiping, Drying, Polishing | Their soft, non-abrasive texture traps dirt and moisture without scratching the surface. |
| Soft Sponges | Applying Solution, Gentle Scrubbing | Provides a way to apply gentle pressure on stains without being abrasive. |
| Mild Soap/Detergent | General Cleaning | Effective at breaking down grease and dirt without harsh chemicals. |
| Warm Water | Rinsing and Diluting | Helps dissolve soap and lift contaminants from the surface effectively. |
Materials to Strictly Avoid
What you don't use is as important as what you do. Abrasives and harsh chemicals are the primary culprits in damaging stainless steel surfaces. Steel wool, scouring pads, and abrasive powders will permanently scratch the finish. Cleaners containing chlorides (bleach), bromides, or iodides are extremely corrosive to stainless steel and must be avoided at all costs.
Why Is Inspecting Sheets for Stains So Important?
Unseen contaminants can be trapped during installation. This leads to hidden corrosion and costly future repairs. A thorough pre-cleaning inspection identifies issues before they become permanent problems.
Inspecting stainless steel sheets before cleaning is crucial because it allows you to identify and pretreat specific contaminants like grease, adhesive residue, or construction dust. This targeted approach ensures complete removal and prevents these substances from causing long-term damage or aesthetic flaws.
This step is where you transition from a general cleaner to a material specialist. Every sheet tells a story of its journey from our factory to your site—a story written in fingerprints, dust, and protective film residue. Ignoring this story is a risk. I remember a client in Dubai working on a prestigious hotel facade. They skipped a detailed inspection, and a small amount of adhesive residue was left on a few panels near the coast. Within a year, those specific spots showed signs of localized corrosion from the salty air, requiring expensive on-site remediation. A simple five-minute inspection could have prevented a five-figure problem. This isn't just about finding dirt; it's about risk management.
Common Contaminants to Look For
Different stains require different treatments. Identifying them upfront saves you time and ensures you use the right method.
| Contaminant | Внешний вид | Potential Risk |
|---|---|---|
| Fingerprints & Grease | Smudges, oily marks | Can bake onto the surface if exposed to heat; unsightly. |
| Adhesive Residue | Sticky, transparent or white film | Attracts dirt and can interfere with the passive layer. |
| Construction Dust | Gritty powder, often concrete or plaster | Can be abrasive if wiped dry, causing scratches. |
| Water Marks | Faint white spots or streaks | Mineral deposits that can be difficult to remove if left too long. |
The Inspection Process
The process is simple. In good lighting, view the sheet from multiple angles. Run a hand (gloved, to avoid adding more fingerprints) lightly over the surface to feel for any sticky or gritty spots. Pay special attention to the edges and areas where protective film was removed. This tactile feedback is often more revealing than a visual check alone.
How Do You Apply the Right Cleaning Solution?
Applying cleaners incorrectly can be ineffective. You might leave streaks or fail to remove contaminants completely. A systematic application ensures even coverage and maximum cleaning power.
Apply the cleaning solution by dampening a soft microfiber cloth, not by pouring it directly onto the sheet. Work in small, manageable sections, and always wipe in the direction of the steel's grain to avoid micro-scratches and ensure a uniform appearance.

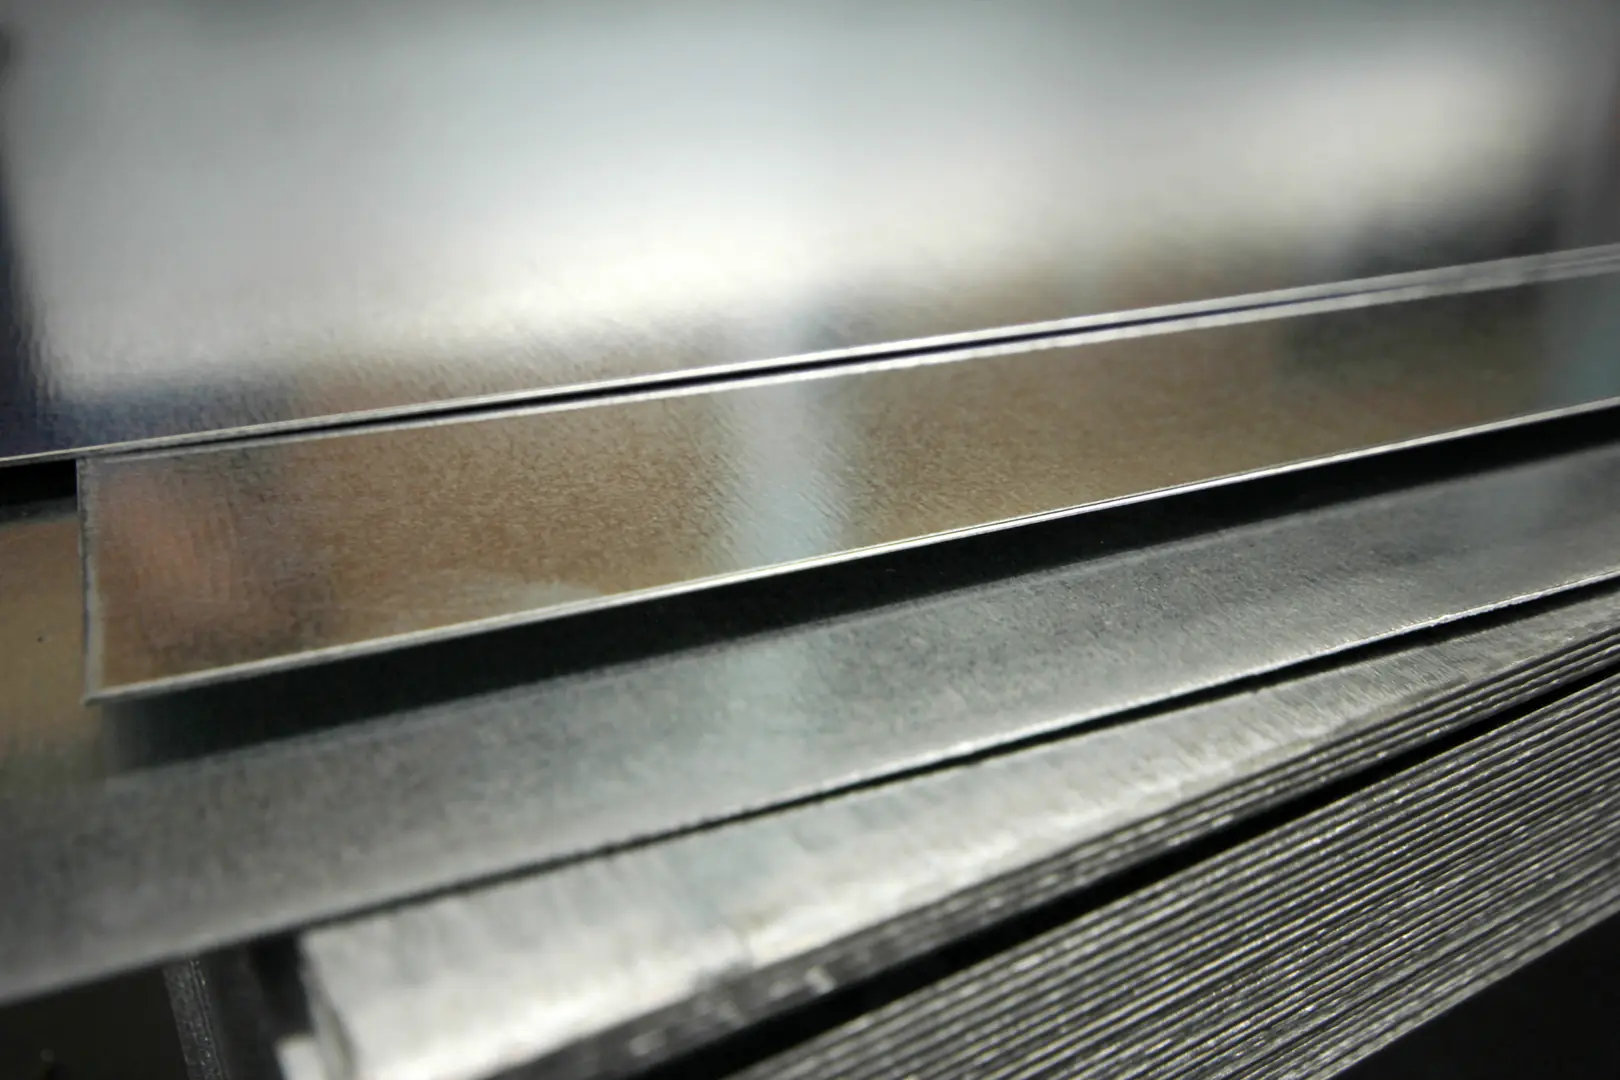
Technique matters immensely in our industry, whether in production or in preparation. The rule of "following the grain" is paramount. Most stainless steel sheets have a brushed finish with very fine, parallel lines. Wiping against this grain can create tiny scratches that refract light differently, making the surface look dull or marred. More importantly, it can disrupt the uniform structure of the passive layer. I often tell our partners that cleaning stainless steel is like painting a masterpiece—the brush strokes must be deliberate and consistent. Applying the solution to the cloth first gives you complete control, preventing over-saturation and drips that can dry and cause stains, forcing you to clean the surface all over again.
The Importance of Following the Grain
Think of the grain as a one-way street for cleaning. Moving with it helps lift dirt out of the microscopic grooves. Moving against it pushes dirt deeper in and can damage the delicate finish. If you are unsure of the grain's direction, look at the sheet in bright light; you will see the faint lines. Consistently following this direction is the single most important technique for maintaining the visual integrity of the steel.
Tackling Stubborn Stains
Your initial inspection should have identified any tough spots like adhesive or heavy grease. For these, spot treatment is necessary before the general cleaning. For adhesive, a solvent like acetone or a specialized adhesive remover can be applied sparingly to a cloth (never directly to the steel) and gently dabbed on the spot. For heavy grease, a degreaser or a more concentrated application of your mild detergent may be needed. Always test these stronger solutions on a small, inconspicuous area first.
What Is the Correct Way to Scrub and Rinse the Surface?
Aggressive scrubbing can ruin a sheet's finish forever. But leaving cleaning residue behind is just as bad. Gentle pressure and a thorough rinse are the keys to a perfect surface.
Gently scrub the surface with your damp, soft cloth, always moving with the grain. After scrubbing, rinse the sheet thoroughly with a separate cloth dipped in clean, warm water to completely remove all cleaning solution residue, which can cause streaks or corrosion.
The rinsing stage is where many people rush, and it’s a critical error. Any soap or cleaner residue left on the surface is a foreign contaminant. It will not only cause visible streaks but, more critically, it can break down the passive layer over time, especially if it contains chlorides. This is the root cause of much of the unexpected tarnishing or "tea staining" we see in the field. A proper rinse is not a quick wipe-down; it is a deliberate process to return the steel to a neutral, uncontaminated state. For high-specification projects, especially in marine or chemically aggressive environments, we even recommend a final rinse with deionized water[^3] to eliminate any mineral deposits from tap water. It’s a small extra step that provides a huge amount of long-term protection.
The Critical Role of Rinsing
Think of the cleaning solution as a vehicle that picks up dirt. The rinse is what drives that vehicle off the surface. If you don't rinse thoroughly, you've simply moved the dirt around and added cleaner residue to the mix.
| Correct Technique | Incorrect Technique |
|---|---|
| Use a separate, clean cloth for rinsing. | Use the same soapy cloth to "rinse". |
| Use fresh, clean, warm water. | Use dirty or cold water. |
| Wipe away all visible soap suds. | Leave suds or a soapy film behind. |
| Wring out the rinse cloth frequently. | Use an overly saturated cloth that leaves puddles. |
This meticulous rinsing ensures the surface is chemically pure, allowing the chromium oxide layer to function at 100% of its protective capability. This directly enhances the product's lifespan and, by extension, its return on investment—a core principle we champion at MFY.
How Can You Dry and Polish Sheets to Prevent Water Spots?
Air-drying leaves unsightly water spots and streaks. This undermines all your hard cleaning work and can compromise the surface. Immediate drying is the only way to a flawless finish.
Immediately after rinsing, dry the stainless steel sheet completely using a clean, dry microfiber cloth or a squeegee. Always wipe in the direction of the grain to prevent water spots and restore the steel's natural luster. This final step is non-negotiable for a professional result.
The final step—drying—is as crucial as the first. Water, especially tap water, contains minerals like calcium and magnesium. When a droplet evaporates, these minerals are left behind, creating a visible spot. These are not just cosmetic annoyances. These mineral deposits can interfere with the uniformity of the passive layer and become points where new contaminants can easily cling. By drying the surface immediately and thoroughly, you are physically removing both the water and its dissolved minerals, leaving nothing behind but a clean, passive, and uniform stainless steel surface. It’s the final seal on your quality control process before installation.
The Science of Water Spots
A water spot is a tiny patch of mineral residue. On a surface as smooth and reflective as stainless steel, these small imperfections are highly visible. Using a squeegee followed by a dry microfiber cloth is the most efficient method. The squeegee removes the bulk of the water, and the cloth absorbs the remaining moisture, leaving a streak-free shine. This two-stage process is standard practice in industries from architectural glass to high-end automotive detailing, and it applies perfectly to stainless steel.
Final Polish for Protection
For an added layer of protection and an enhanced shine, especially for interior decorative applications, you can apply a specialized stainless steel polish after drying. These products often contain a light oil or silicone that helps repel fingerprints and dust, making routine maintenance easier down the line. It’s a final touch that showcases the material's premium quality and signals a job done with professional care.
Заключение
Pre-installation cleaning is not a chore, but a critical investment in your project's future. This five-step process ensures aesthetic perfection, enhances corrosion resistance, and reduces long-term maintenance costs. It protects the value of your asset from the moment it's installed.
У вас есть вопросы или нужна дополнительная информация?
Свяжитесь с нами, чтобы получить индивидуальную помощь и квалифицированный совет.