How to Weld Stainless Steel Plates Safely and Effectively
Welding stainless steel seems complex. Poor welds fail, costing time and money. Proper technique ensures strong, safe, and lasting joints every time.
**To weld [stainless steel plates](https://cnmfy.com/product/) safely and effectively, you must start with meticulous preparation and safety protocols, select the correct welding method and materials like TIG or MIG, follow a precise step-by-step process, and conduct thorough post-weld inspections.**
Let's break this down. As someone who has overseen countless projects at MFY, I've seen firsthand how mastering these fundamentals separates the experts from the amateurs. It’s not just about joining two pieces of metal; it’s about understanding the unique properties of stainless steel to create a bond that will withstand the test of time and stress.
## What Preparation and Safety Measures are Crucial Before Welding?
Rushing into a weld is dangerous. Contaminants ruin the joint and fumes are hazardous. A clean workspace and proper PPE are non-negotiable for safety and quality.
**Before welding, thoroughly clean the stainless steel surface to remove grease and dirt, ensure proper ventilation to manage fumes, and wear essential personal protective equipment (PPE), including a welding helmet, gloves, and fire-resistant clothing. Safety is the first step to a quality weld.**
At MFY, we emphasize that a successful weld begins long before you strike an arc. The unique chromium content in stainless steel, which gives it its corrosion resistance, also produces hazardous fumes like hexavalent chromium when welded. This is a serious health risk that cannot be overlooked. I remember a partner facility that faced significant downtime because they neglected proper ventilation, leading to health complaints. It was a stark reminder that safety isn't just about compliance; it's about protecting your most valuable asset—your people. Meticulous preparation is equally vital for the integrity of the weld itself.
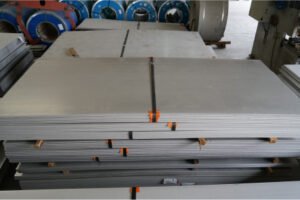
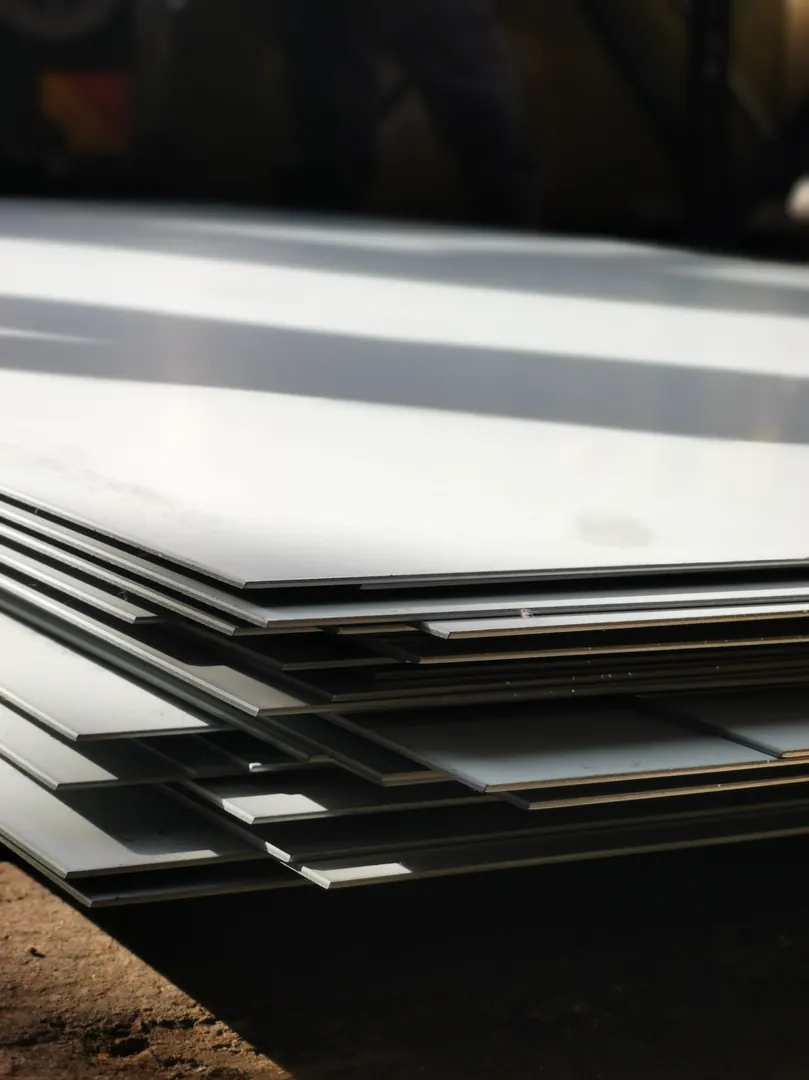
### Surface Preparation: The Foundation of a Strong Weld
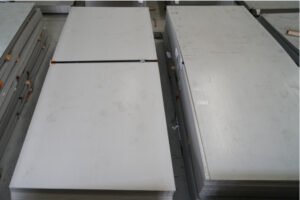
Stainless steel must be impeccably clean. Any oil, grease, paint, or even fingerprints can introduce carbon into the weld pool, compromising its strength and corrosion resistance. Start with a degreasing solvent. Afterward, use a stainless steel wire brush—and I must stress, one that has *only* been used on stainless steel—to remove any remaining oxide layer. Using a brush contaminated with carbon steel is one of the fastest ways to introduce rust to your finished product.
### Personal Protective Equipment (PPE): Your First Line of Defense
There is no room for compromise on PPE. This isn't just about sparks. The UV radiation from the welding arc is intense and can cause severe skin and eye damage. Your standard kit must include:
* An auto-darkening welding helmet to protect your eyes.
* Thick, flame-resistant gloves.
* A fire-resistant jacket or leathers.
* Steel-toed boots.
* A respirator designed for welding fumes, especially when working in enclosed spaces.
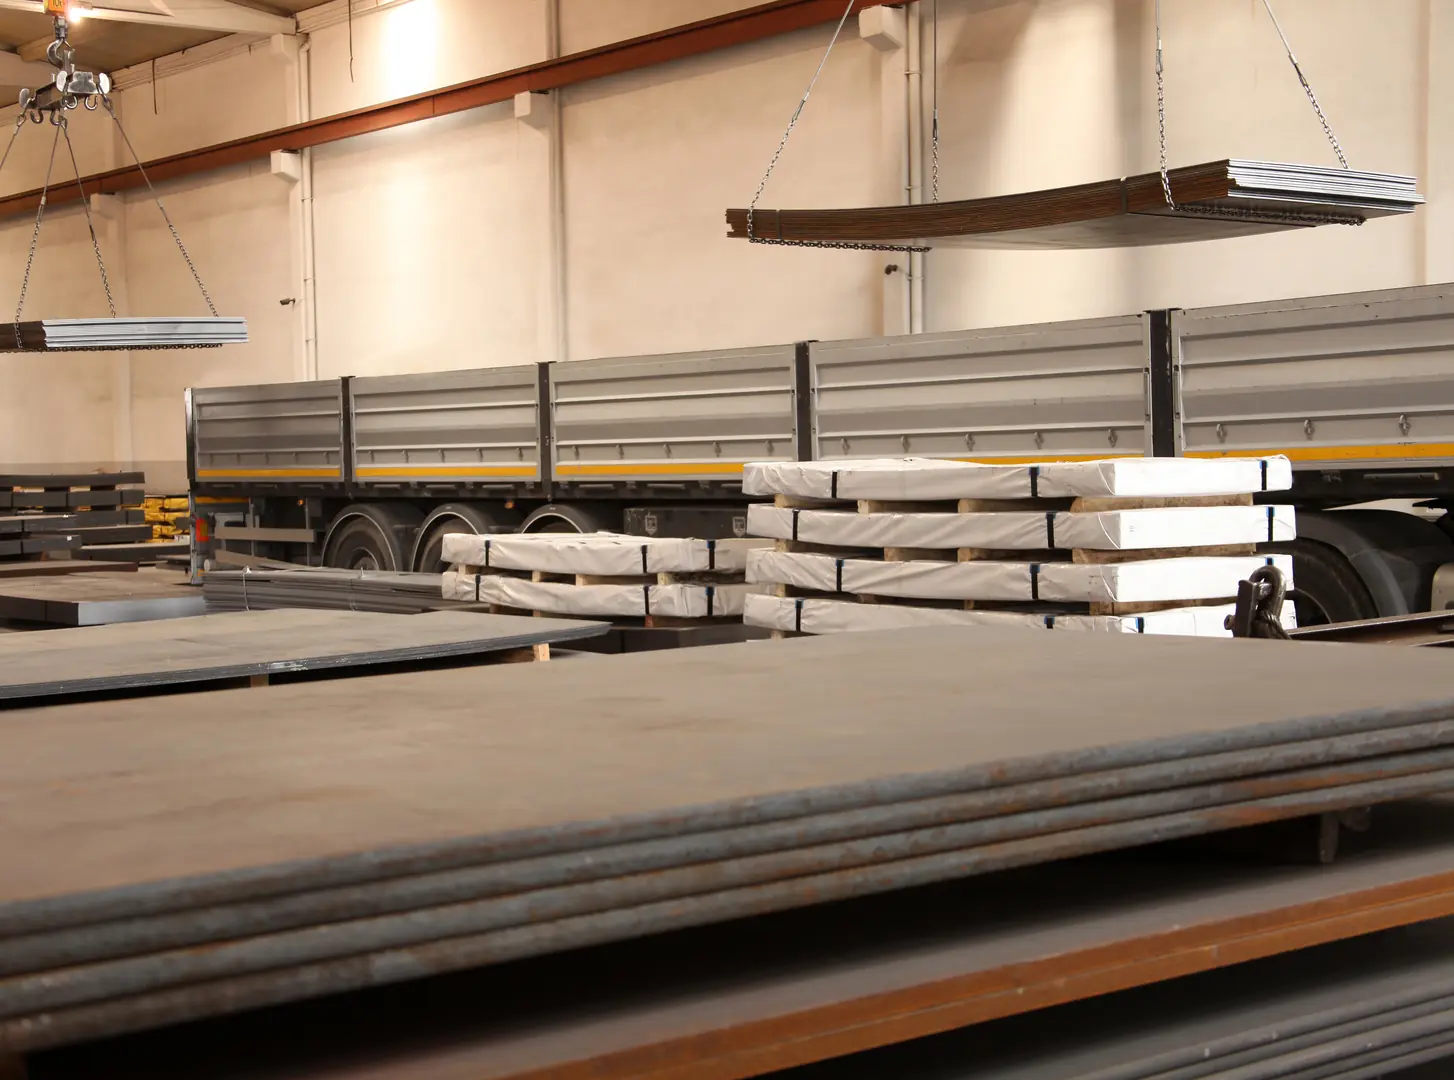
### Workspace Safety: Controlling the Environment
Your welding area should be clear of all flammable materials. Ensure you have a fire extinguisher rated for electrical fires nearby. Most importantly, ventilation is key. Use local exhaust ventilation (fume extractors) to capture fumes at the source. If that's not possible, ensure excellent general ventilation and always use your respirator. This focus on environmental control is central to modern, responsible manufacturing.
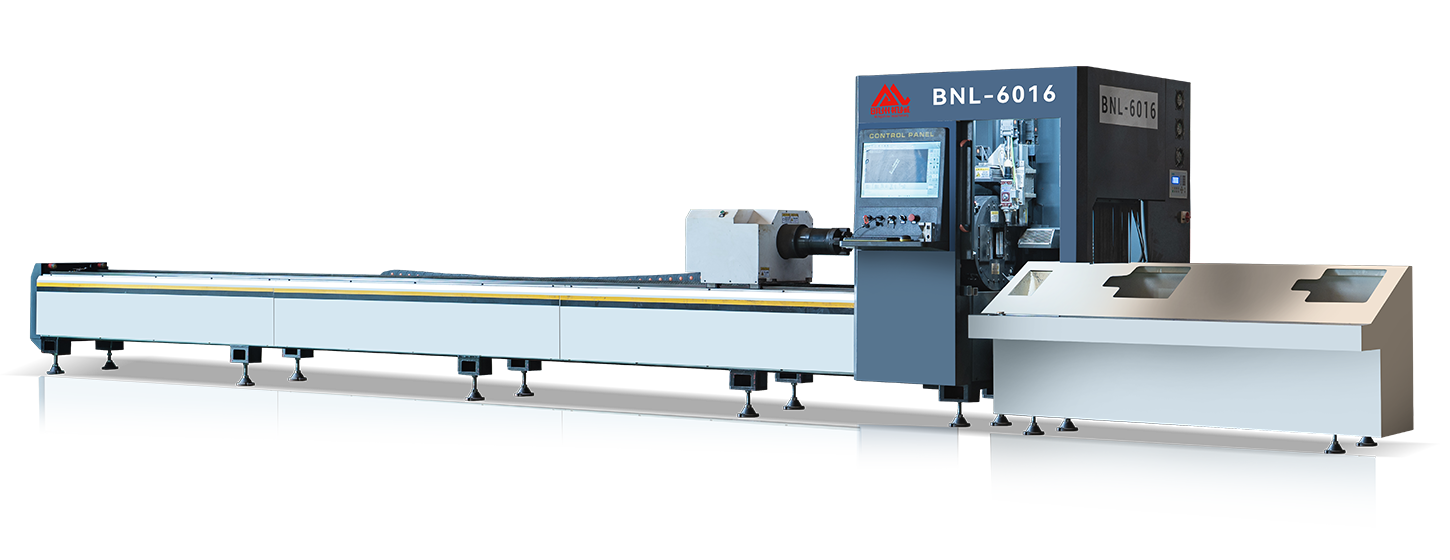
## How Do You Select the Right Welding Equipment and Materials?
Using the wrong equipment causes weak welds. The wrong filler metal compromises corrosion resistance. Matching the method and materials to the steel grade is key.
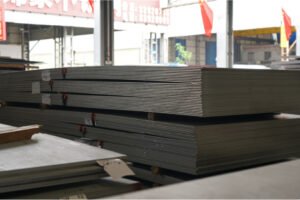
**Select your welding method based on plate thickness and desired finish—TIG for precision on thin plates, MIG for speed on thicker sections. Crucially, choose a filler metal with a composition matching or exceeding the base stainless steel to maintain its properties.**

The choice of process and consumables is a strategic decision that directly impacts the final product's quality and cost. Stainless steel is a high-alloy material, and its properties are defined by a precise chemical balance. Any deviation introduced during welding can undo the very reasons you chose stainless steel in the first place. I once consulted on a project for a food processing plant where the wrong filler metal was used for their 316L grade tanks. The welds began to corrode within months, contaminating the product and forcing a complete, costly replacement. This highlights why understanding the material science is just as important as the physical welding skill.
### Choosing Your Welding Process
Your application dictates the best method. Each has its strengths and weaknesses when it comes to stainless steel.
| Welding Process | Best For | Key Advantage | Key Disadvantage |
| :-------------- | :----------------------------------------- | :---------------------------- | :------------------------ |
| **TIG Welding** | Thin plates (< 6mm), high-purity applications | Precision, clean appearance | Slow process, high skill |
| **MIG Welding** | Thicker plates (> 3mm), production speed | Fast, easy to learn | Can be less clean |
| **Stick (SMAW)** | Field repairs, thick materials, all positions | Versatile, works in wind | Messy, requires slag removal |
### The Critical Role of Filler Metals
This is where many mistakes happen. The filler metal must be compatible with the base metal. As a general rule, you match the filler to the grade you are welding. For example, when welding common 304 stainless steel, you would typically use a 308L filler rod. The "L" signifies low carbon content, which helps prevent [chromium carbide precipitation](https://www.hobartbrothers.com/resources/technical-guides/stainless-steel-technical-guide/carbide-precipitation/)[^1] and maintains corrosion resistance around the weld. Always consult a selection chart if you are unsure.
### Shielding Gas Selection
The shielding gas protects the molten weld pool from atmospheric oxygen and nitrogen, which would otherwise ruin the weld. For [TIG welding](https://cnmfy.com/welding-stainless-steel-plates-techniques-tips/)[^2], 100% Argon is the standard. For MIG welding, a mix of Argon with a small amount of CO2 (around 2-5%) is often used to improve arc stability and bead shape. Using the wrong gas or having inadequate flow will result in a porous, weak weld.
## What is the Step-by-Step Process for Welding Stainless Steel Plates?
A sloppy technique creates a messy, weak weld. Inconsistency leads to defects like porosity. A systematic approach ensures a clean, strong, and professional result.
**Begin by setting your welder's parameters (amperage, voltage). Maintain a consistent travel speed, torch angle, and arc length. Use a proper technique, like the push method for MIG, to ensure good shielding gas coverage and a clean, strong bead.**
The physical act of welding is a dance between heat, speed, and material. Stainless steel has a higher coefficient of thermal expansion and lower thermal conductivity compared to carbon steel. This means it expands more when heated and holds that heat in a concentrated area, making it very prone to warping and distortion. I've seen entire projects derailed because the welders didn't manage their heat input correctly, resulting in panels that were too warped to fit. A disciplined, step-by-step approach is the only way to manage these material-specific challenges effectively.
### Setting Up Your Machine
Before you start, dial in your settings. Your machine's manual or a welding chart will provide a good starting point for amperage and voltage based on your plate thickness. For MIG, you'll also set the wire feed speed. It's always a good practice to run a few test beads on a scrap piece of the same material to fine-tune your settings before working on the final piece.
### Mastering the Technique
Consistency is everything.
* **Travel Speed:** Moving too fast results in a narrow, weak bead with poor fusion. Moving too slow puts too much heat into the plate, increasing distortion and the risk of burn-through. Find a steady pace that creates a uniform bead.
* **Torch Angle:** For MIG, a "push" angle of about 10-15 degrees is recommended. This provides a better view of the weld pool and ensures the shielding gas is directed ahead of the weld, keeping it clean.
* **Arc Length:** Keep the distance between your electrode and the workpiece short and consistent. A long arc is unstable and leads to spatter and poor shielding.
### Managing Heat and Distortion
To fight warping, you need to control the heat. Use tack welds every few inches to hold the plates in position before running the full bead. For longer seams, use a "skip welding" or "backstep" technique, where you weld short sections in a staggered or alternating pattern to distribute the heat more evenly across the piece. For thin sheets, using copper or aluminum backing bars can act as a heat sink, drawing heat away from the weld zone.
## What Common Mistakes Should You Avoid During Welding?
Simple errors can ruin an entire project. Overheating, contamination, or poor technique leads to cracks and corrosion. Knowing the pitfalls helps you avoid them completely.
**Avoid common mistakes like excessive heat input, which causes warping and sensitization. Prevent contamination by using dedicated stainless steel tools. Ensure proper gas shielding to avoid porosity, and maintain a consistent travel speed to prevent an uneven weld bead.**

Understanding what can go wrong is just as important as knowing the right steps. Many welding defects are a direct result of misunderstanding the unique metallurgy of stainless steel. The root cause of these failures often traces back to a few fundamental errors that are, thankfully, entirely avoidable with the right knowledge and discipline. At MFY, we train our teams to recognize not just the mistake itself, but the scientific reason it occurs, which fosters a deeper commitment to quality control.
### The Heat Input Problem
This is the number one enemy of stainless steel welding.
* **Warping:** As mentioned, stainless steel expands significantly when heated. Too much heat in one area causes it to buckle.
* **Sensitization:** Excessive heat can cause chromium and carbon in the steel to form chromium carbides along the grain boundaries. This depletes the chromium from the surrounding area, destroying its corrosion resistance. The weld may look fine, but it will rust and fail in a corrosive environment. This is why "L" grade (low carbon) materials are so important.
### Contamination and Its Consequences
Never use tools (grinders, brushes, clamps) on stainless steel that have been used on carbon steel. Microscopic iron particles can become embedded in the surface, leading to rust spots that compromise the entire piece. This is known as cross-contamination and is a rookie mistake with serious consequences.
### Common Welding Defects and Solutions
| Mistake/Defect | Cause | Solution |
| :--------------------- | :------------------------------------------- | :-------------------------------------------------------------------- |
| **Porosity** (small holes) | Inadequate shielding gas coverage; contamination | Check gas flow rate; clean base metal; check for drafts |
| **Undercut** (groove at toe) | Excessive amperage; incorrect torch angle; too fast | Reduce amperage; correct angle; slow down travel speed |
| **Warping/Distortion** | Excessive heat input; poor joint restraint | Use tack welds; employ skip welding; use heat sinks; reduce amperage |
| **Cracking** | Wrong filler metal; too much heat; joint stress | Use correct filler; control heat input; pre-heat if necessary (rare) |
## What are the Key Post-Welding Inspection and Maintenance Tips?
A finished weld isn't a finished job. Hidden defects can cause catastrophic failure later. Proper inspection and cleaning ensure long-term durability and performance.
**After welding, visually inspect the bead for uniformity, cracks, and porosity. Clean the weld area thoroughly to remove slag and heat tint using a stainless steel brush or pickling paste. This restores the protective chromium oxide layer and prevents corrosion.**
The final steps of cleaning and inspection are what guarantee the long-term performance and aesthetics of the weld. This phase is critical for restoring the very properties that make stainless steel a premium material. I once worked with an aerospace client where post-weld inspection was even more rigorous than the welding process itself. They understood that for critical applications, ensuring the integrity of every single millimeter of the weld is paramount. This mindset, which we've adopted at MFY, ensures that our products don't just meet specifications on day one, but perform reliably for their entire service life.
### Visual Inspection Checklist
Your first line of defense is a thorough visual check. Look for:
* **Uniformity:** Is the weld bead consistent in width and height?
* **Cracks:** Any cracks, no matter how small, are unacceptable.
* **Porosity:** Are there any small pinholes on the surface?
* **Undercutting:** Is there a groove melted into the base metal at the edge of the weld?
* **Fusion:** Does the weld appear to be fully fused with the base metal on both sides?
### Cleaning and Passivation
After welding, you'll see a discolored area around the weld known as "heat tint" or "weld scale." This isn't just a cosmetic issue. This discoloration indicates that the surface's protective chromium oxide layer has been damaged. It must be removed to restore full corrosion resistance.
* **Mechanical Cleaning:** Use a stainless steel wire brush or wheel to remove the scale.
* **Chemical Cleaning:** For superior results, apply a pickling paste (a mix of acids) to dissolve the heat tint and impurities. After application and a set dwell time, it must be thoroughly rinsed off. This process, known as passivation, chemically restores the passive layer.
### Non-Destructive Testing (NDT)
For critical applications in sectors like aerospace, chemical processing, or structural engineering, more advanced inspection may be required. Methods like [Dye Penetrant Testing](https://mfe-is.com/dye-penetrant/)[^3] can reveal surface-breaking cracks invisible to the naked eye, while Radiographic (X-ray) Testing can identify internal defects like lack of fusion or porosity.
## Conclusion
Mastering stainless steel welding is a blend of science and skill. By focusing on meticulous preparation, correct material selection, and disciplined technique, you ensure every weld is not just strong, but safe and durable, meeting the highest industry standards.
У вас есть вопросы или нужна дополнительная информация?
Свяжитесь с нами, чтобы получить индивидуальную помощь и квалифицированный совет.