A Guide to Welding Stainless Steel Plates: Techniques & Tips
Welding stainless steel plates feels complex. Mistakes are costly, compromising structural integrity and your project's timeline. Master the right techniques for perfect, durable results every time.
Mastering stainless steel plate welding requires meticulous preparation, choosing the correct technique like TIG or MIG, following a precise step-by-step process, and performing post-weld cleaning. Adhering to safety and understanding common challenges like distortion are crucial for achieving strong, corrosion-resistant joints.
As the Global Business Director at MFY, I've seen countless projects succeed or fail based on the quality of their welds. The difference always comes down to a deep understanding of the material and the process. Stainless steel isn't like carbon steel; it demands more respect, more precision, and a bit more knowledge. Let’s break down the essential techniques and tips that my most successful clients use to ensure every weld is a testament to quality and strength, transforming a good project into a great one.
What Are the Essential Preparation and Safety Measures for Welding Stainless Steel Plates?
Rushing into welding is a recipe for disaster. Contamination and accidents can ruin projects and cause serious harm. Proper preparation and unwavering attention to safety are the non-negotiable first steps.
Essential preparation involves thoroughly cleaning the stainless steel plate to remove oils, grease, and surface contaminants. Key safety measures include wearing appropriate Personal Protective Equipment (PPE) like a welding helmet and gloves, ensuring proper ventilation to avoid fume inhalation, and having a fire extinguisher nearby.
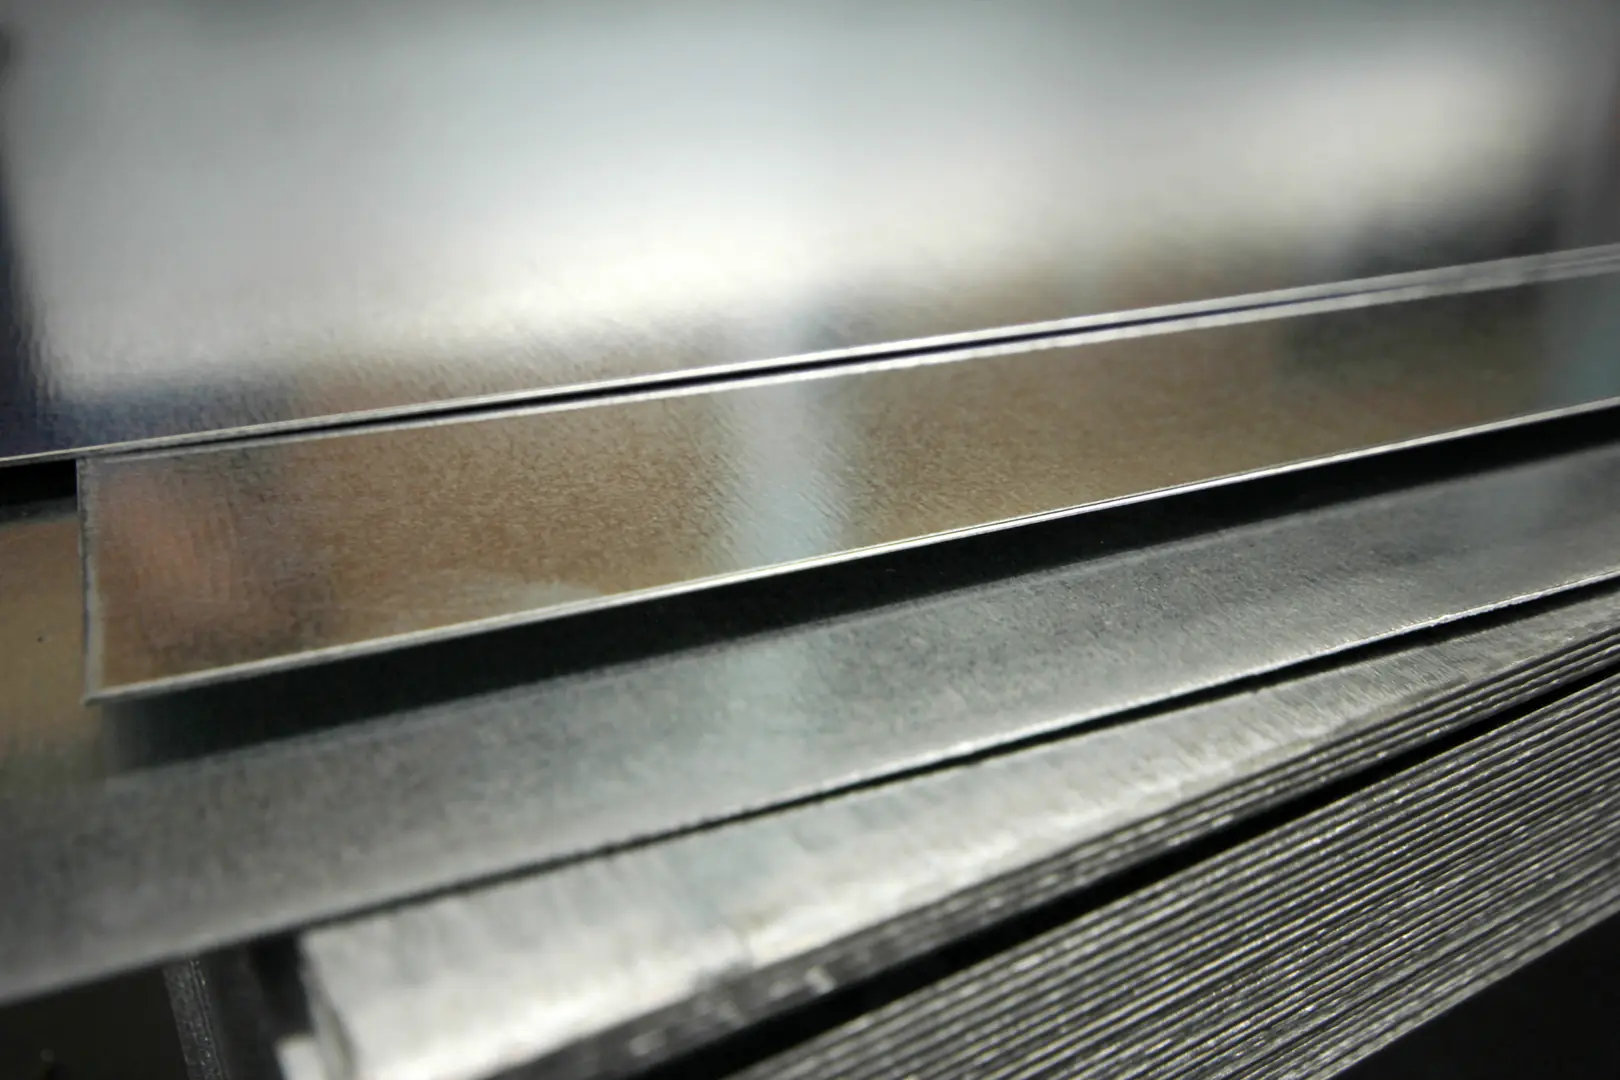
Before you ever strike an arc, the success of your weld has already been partially determined by your prep work. At MFY, we always tell our partners that the time spent on preparation is an investment, not a cost. Stainless steel's protective chromium oxide layer[^1] is what gives it its corrosion resistance, but any contaminants like oil, paint, or even dirt can compromise this layer during welding, leading to defects like porosity and reduced corrosion resistance. I remember a client in the food processing industry who was facing weld failures; the issue wasn't their technique but simply inadequate cleaning. We advised them to implement a two-step cleaning process, and their weld quality improved immediately.
The Cleaning Protocol
Start by degreasing the surface with a solvent like acetone. After degreasing, use a dedicated stainless steel wire brush—one that has never been used on carbon steel—to remove any remaining surface oxides or stubborn dirt. This prevents cross-contamination, which can introduce iron particles that lead to rusting. A clean, pristine surface is the foundation for a strong, lasting weld.
Your Safety Checklist
Safety is paramount, especially when dealing with the fumes produced by welding stainless steel, which contain chromium and nickel. A well-ventilated workspace is critical. If you are in a confined area, a fume extraction system is a must. Your personal safety gear is your last line of defense. Here’s a basic checklist we recommend:
| PPE Item | Purpose |
|---|---|
| Auto-Darkening Helmet | Protects eyes and face from UV/IR radiation and sparks. |
| Welding Gloves | Insulates hands from heat and electrical shock. |
| Flame-Resistant Jacket | Protects the body from sparks and spatter. |
| Respirator | Filters harmful fumes and metal particulates. |
| Safety Glasses | Provides eye protection when the helmet is up. |
How Do You Choose the Right Welding Technique for Stainless Steel Plates?
Using the wrong welding technique creates weak, unreliable welds. This inevitably leads to structural failures, wasted materials, and costly rework. You must select the best method for your specific application.
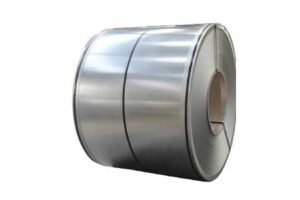
Choosing the right technique depends on the plate's thickness and the desired aesthetic finish. TIG (Tungsten Inert Gas) welding offers precision for thinner plates, while MIG (Metal Inert Gas) welding is faster for thicker sections. Shielded Metal Arc Welding (SMAW) is also a versatile option.
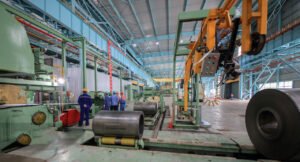
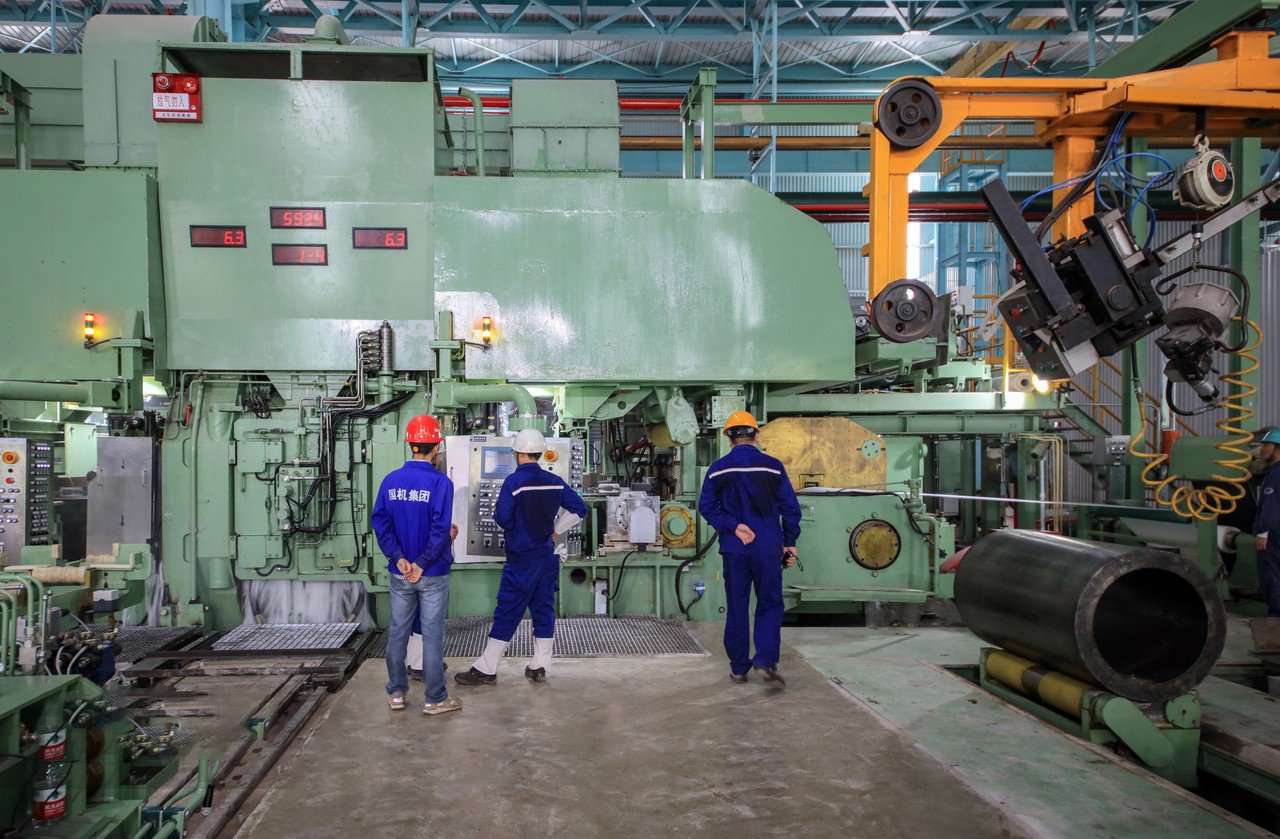
The choice of welding process is a strategic decision that directly impacts project efficiency and final quality. In my experience working with clients from aerospace to architectural design, the conversation always starts with the application. Are you building a high-pressure vessel that requires flawless, x-ray quality welds, or are you fabricating structural components where speed is a factor? The answer dictates your approach. Today, this decision is further influenced by technology. The rise of digital welding systems has been a game-changer, offering unprecedented control. These modern machines allow for real-time analytics and precise parameter adjustments, minimizing defects and ensuring consistency. This is especially vital in sectors like automotive and aerospace, where precision isn't just a goal—it's a requirement for safety and performance.
TIG, MIG, or SMAW?
Let's break down the most common methods.
- TIG (GTAW): This is the artist's choice. It produces incredibly clean, precise, and strong welds. It’s a slower process but offers the most control, making it ideal for thinner plates (under 6mm) and applications where appearance is critical, like in architectural or sanitary applications.
- MIG (GMAW): This is the workhorse. It's much faster than TIG and easier to learn, making it perfect for thicker plates and longer production runs. Modern pulsed-MIG machines have significantly improved control over heat input, reducing distortion on even thinner stainless steel.
- SMAW (Stick): This is the most versatile and portable option, great for field repairs and various positions. While it requires more cleanup, it's a reliable method for many structural applications.
| Feature | TIG (GTAW) | MIG (GMAW) | SMAW (Stick) |
|---|---|---|---|
| Precision | Very High | Good to High | Moderate |
| Speed | Slow | Fast | Moderate |
| Application | Thin plates, aesthetic welds, pipe | Thick plates, structural, production | Field repairs, all-position welding |
| Cost | Higher skill/time, moderate equipment | Lower skill/time, moderate equipment | Low equipment cost |
What is a Step-by-Step Guide to Welding Stainless Steel Plates?
A clear, repeatable process is often missing on the shop floor. This inconsistency leads to unpredictable and flawed welds. Follow our straightforward, step-by-step guide for reliable results every time.
A step-by-step guide includes: 1) Preparing and cleaning the joint, 2) Tacking the plates firmly to prevent movement, 3) Selecting the correct amperage and travel speed, 4) Executing the weld with a consistent technique, and 5) Allowing for proper cooling before inspection.
A systematic approach removes guesswork and ensures consistency, which is the hallmark of professional work. I once visited a client's facility where they were struggling with distortion in large stainless steel panels. Their welders were highly skilled, but each had a slightly different approach. By standardizing their process from tacking to the final pass, they drastically reduced warping and rework. This is where digital integration provides a massive advantage. Automated welding systems can execute a pre-programmed sequence with robotic precision, controlling variables like travel speed and heat input to a degree that is simply not possible manually. This not only enhances quality but also boosts operational efficiency, a key competitive advantage in today's market.
The Welding Sequence
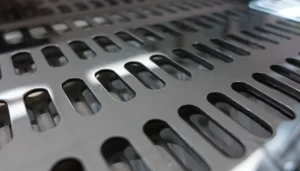
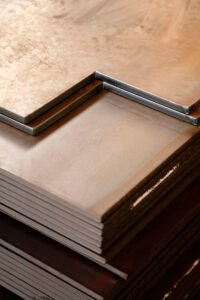
- Joint Preparation: After cleaning, ensure the joint is properly configured. For thinner plates, a simple butt joint may suffice. For thicker plates, beveling the edges to create a V-groove is necessary for full penetration.
- Tack Welding: Place small tack welds along the joint to hold the plates in alignment. This is a critical step to control distortion as the metal heats and cools. Space them appropriately based on the length of the weld.
- Parameter Setting: Dial in your machine. Set the amperage based on the plate thickness—too hot and you risk burn-through, too cold and you get poor fusion. Your shielding gas flow rate (typically Argon for TIG) must also be correct to protect the weld puddle from atmospheric contamination.
- Execution: Maintain a consistent travel speed, arc length, and torch angle. For TIG, this involves a steady hand and a smooth dabbing motion with the filler rod. For MIG, it's about maintaining a consistent stick-out and push or pull angle. The goal is a uniform weld bead.
What Are the Common Challenges in Welding Stainless Steel and How Can You Overcome Them?
Stainless steel presents unique welding challenges. Warping, cracking, and loss of corrosion resistance can derail your entire project. You must understand these issues to proactively prevent them.
Common challenges include heat distortion (warping), carbide precipitation (sensitization), and weld cracking. Overcome these by using proper clamping, controlling heat input with lower amperage and faster travel speeds, and using low-carbon stainless steel grades or proper filler materials.

Understanding the "why" behind these challenges is what separates an amateur from an expert. Stainless steel has a higher coefficient of thermal expansion and lower thermal conductivity than carbon steel. In simple terms, it expands more when heated and holds that heat in a smaller area. This is the primary cause of warping and distortion. At MFY, a huge part of our service is advising clients on material selection. We often recommend "L" grades like 304L or 316L. The "L" stands for low carbon, which directly combats the problem of sensitization, where the steel loses its corrosion resistance near the weld. Choosing the right material from the start is the most effective way to mitigate these risks before they even become a problem on the shop floor.
Key Challenges and Solutions
| Challenge | Cause | Solution |
|---|---|---|
| Distortion (Warping) | High thermal expansion and low thermal conductivity concentrate heat, causing the metal to pull. | Use rigid clamping, tack welds, back-step welding techniques, and minimize heat input with lower amperage. |
| Sensitization | At high temperatures (425-870°C), chromium combines with carbon, reducing corrosion resistance. | Use low-carbon grades (e.g., 304L), control interpass temperature, and cool the weld rapidly. |
| Weld Cracking | Can occur during solidification (hot cracking) or after cooling, often due to impurities or stress. | Use filler metals with a small amount of ferrite, ensure proper joint design, and pre-heat if necessary. |
What Are the Best Post-Welding Tips for Stainless Steel Plates to Ensure Quality?
The job isn't finished when the weld cools down. Neglecting crucial post-weld steps compromises corrosion resistance and aesthetics. Proper finishing ensures long-term performance and a professional look.
Essential post-welding tips include thorough cleaning to remove heat tint and slag using wire brushing or pickling paste. Passivation is also crucial to restore the steel's passive chromium-oxide layer, ensuring maximum corrosion resistance and a clean, uniform finish.

The final finish is what your customer sees and what protects the weld for its entire service life. The discolored area next to a weld, known as heat tint or the heat-affected zone (HAZ), isn't just a cosmetic issue. In this zone, the protective chromium oxide layer has been compromised, making it a prime spot for rust to begin. I’ve seen beautiful fabrication work fail in the field prematurely simply because this final step was skipped. Advanced welding systems with real-time analytics can even help predict the extent of the HAZ, allowing teams to plan for post-weld treatment more effectively and optimize the entire workflow from start to finish. It’s about ensuring the material performs as designed.
Cleaning and Restoration
- Mechanical Cleaning: The first step is to remove any slag (from SMAW) or surface imperfections. Use a stainless steel wire brush, grinder, or flapper disc. Again, it is critical that these tools have only ever been used on stainless steel to avoid iron contamination.
- Chemical Cleaning (Pickling): For maximum corrosion resistance, the heat tint must be chemically removed. This is done using a pickling paste, which is an acidic gel that dissolves the discolored layer. This process must be done with extreme care and proper PPE due to the hazardous nature of the chemicals.
- Passivation: This is the final and most important step. Passivation is a process that uses a mild acid (like nitric or citric acid) to remove any free iron from the surface and help rebuild the tough, passive chromium-oxide layer. It’s the step that truly restores the "stainless" quality to your stainless steel fabrication.
Conclusion
Mastering stainless steel welding hinges on three pillars: meticulous preparation, correct technique selection, and thorough post-weld care. By focusing on these fundamentals and embracing modern digital tools for greater precision, you ensure durable, high-quality results that meet the most demanding industry standards.
Have Questions or Need More Information?
Get in touch with us for personalized assistance and expert advice.