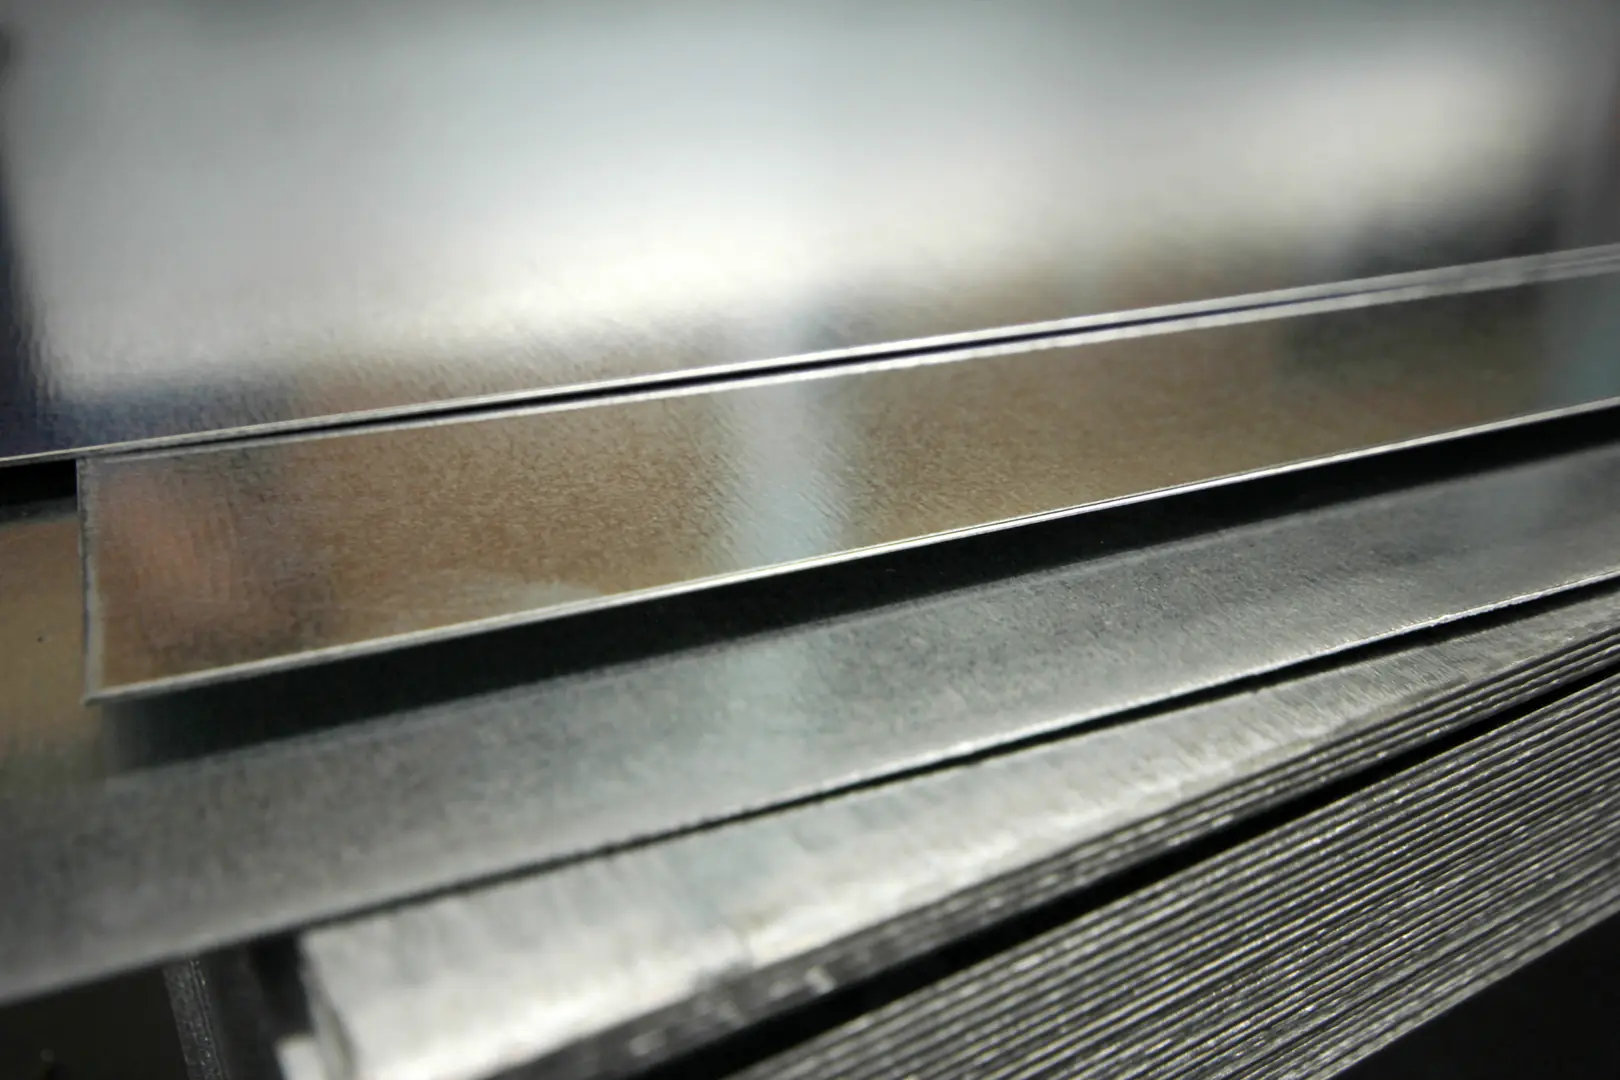
Restoring Mill Finish: Professional Techniques to Renew Stainless Steel Surfaces
A dull, scratched stainless steel surface compromises your project's integrity. This reflects poorly on your quality standards and invites corrosion. Our professional techniques restore the original mill finish[^1], ensuring performance.
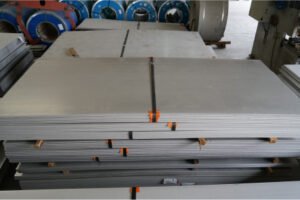
Restoring a stainless steel mill finish involves a systematic process of deep cleaning, surface preparation, and using specific mechanical or chemical techniques. This renews the protective passive layer, extends the material's life, and brings back its original aesthetic and functional quality.
As the Global Business Director at MFY, I’ve seen countless projects where the finish makes all the difference. It's not just about aesthetics; it's about long-term performance and protecting your investment. Restoring a surface correctly is a strategic imperative that saves money and reinforces your commitment to quality. Let's dive into why the mill finish is so critical and how you can master the techniques to renew it.
Why is a Mill Finish So Crucial for Stainless Steel?
Overlooking the finish seems like a minor detail. But this neglect leads to premature corrosion and failure. Prioritizing its integrity protects your investment and your professional reputation.
The mill finish on stainless steel is critical because it's linked to the passive chromium oxide layer. This layer provides the material's signature corrosion resistance. A damaged finish compromises this protection, inviting rust and degradation, which shortens the asset's lifespan.
In my role, I often have to explain that the surface finish is more than just a cosmetic feature—it's a functional component of the material. For industries from manufacturing to construction, understanding this is key to maximizing the value of stainless steel. It’s a conversation about extending the lifecycle of an asset, which directly impacts your bottom line and sustainability goals.
The Protective Passive Layer
The "magic" of stainless steel lies in its passive layer. This is an incredibly thin, transparent film of chromium oxide that forms naturally on the surface when exposed to oxygen. It’s this layer that blocks rust and corrosion. A uniform mill finish ensures this protective layer is consistent and free of imperfections where corrosion could begin. When the surface is scratched, gouged, or contaminated, that barrier is broken, leaving the steel underneath vulnerable. Restoring the finish is really about restoring this vital protective shield.
Economic and Environmental Impact
A well-maintained finish directly translates to a longer service life for your equipment or structure. This means lower replacement costs, less downtime, and a better return on your initial investment. In today's business climate, there's also the environmental angle. By extending the lifecycle of stainless steel products, we reduce waste and the demand for new raw materials. This aligns with the global shift toward more sustainable industrial practices. At MFY, we see clients who prioritize finish maintenance as leaders, not just in quality, but in environmental stewardship.
| Aspect | Well-Maintained Finish | Neglected Finish |
|---|---|---|
| Performance | Optimal corrosion resistance | Compromised, prone to rust |
| Lifespan | Maximized service life | Significantly reduced |
| Cost | Lower long-term costs | High replacement/repair costs |
| Appearance | Professional and clean | Unprofessional and degraded |
What Common Issues Can Degrade a Stainless Steel Surface?
Unexplained spots and scratches appear on your steel surfaces. Ignoring them allows minor flaws to become major problems. Identifying them early is the key to effective restoration.
Common issues include surface scratches, abrasions, rust spots (often from contact with carbon steel), chemical stains, and heat tint or discoloration from welding. Each type of damage requires a specific approach to restore the original mill finish without causing further harm.

I remember a client in the food processing industry who was shocked to find rust spots on their new 304-grade equipment. It turned out that contractors had used carbon steel tools during installation, causing iron contamination[^2] that led to localized rusting. This is a classic example of how easily a pristine surface can be compromised. Understanding the source of the problem is the first step toward the right solution.
Mechanical and Environmental Damage
Damage to stainless steel surfaces typically falls into two categories. Mechanical damage is the most common, including everything from light scuffs to deep scratches caused by impact or improper handling. Environmental damage is more subtle. It includes chemical spills, salt spray in coastal areas, and, as in my client's case, cross-contamination with less noble metals like iron. Heat tint from welding is another common issue that not only looks bad but also depletes the chromium at the surface, reducing corrosion resistance.
Identifying the Culprit
Correctly identifying the type of damage is crucial because the wrong remedy can make things worse. For instance, trying to scrub away a chemical stain with an abrasive pad might just create a new set of scratches that are even harder to fix. A systematic inspection is necessary.
| Issue | Common Cause | Visual Appearance |
|---|---|---|
| Scratches | Abrasive contact, improper cleaning | Fine lines or deep gouges |
| Rust Spots | Iron contamination | Small, reddish-brown spots |
| Chemical Stains | Spills of acids or chlorides | Discolored or etched patches |
| Heat Tint | Welding or high heat | Rainbow or brownish film near welds |
What is the Correct Way to Clean and Prepare the Surface?
Jumping straight to abrasives can make things worse. This embeds contaminants and creates deeper scratches. Proper cleaning is the non-negotiable first step for a flawless finish.
Proper preparation involves a thorough cleaning with a non-chloride detergent and water to remove dirt, grease, and oils. The surface must then be completely rinsed and dried. This ensures you are working on the steel itself, not just moving contaminants around.

You wouldn't paint a wall without cleaning it first, and the same principle applies here with even higher stakes. Any grease, oil, or loose dirt left on the surface will interfere with the restoration process. If you're using abrasives, that grime will get ground into the surface, creating a bigger problem. If you're using chemical treatments, the chemicals won't be able to work evenly on the steel itself. A few extra minutes spent on proper cleaning will save you hours of frustration and deliver a far superior result.
Essential Cleaning Agents
The key is to use gentle but effective cleaners. A simple solution of mild soap or detergent in warm water is often enough. For more stubborn grease, a solvent cleaner can be used, but always check to ensure it's safe for stainless steel and won't leave a residue. The most important rule is to avoid any cleaners containing chlorides, as they can cause pitting and crevice corrosion. After washing, a thorough rinse with clean water is essential to remove all traces of the cleaning agent.
The Pre-Restoration Checklist
Before you begin any mechanical or chemical restoration, run through this simple checklist to ensure the surface is perfectly prepared. This discipline is what separates a professional job from an amateur one.
| Step | Action | Purpose |
|---|---|---|
| 1. Inspect | Examine the surface for the type and extent of damage. | To choose the correct restoration method. |
| 2. Clean | Wash with a mild, chloride-free detergent and water. | To remove dirt, grease, and oils. |
| 3. Rinse | Thoroughly rinse the surface with clean water. | To remove all cleaning agent residue. |
| 4. Dry | Completely dry the surface with a soft, clean cloth. | To prevent water spots and ensure even treatment. |
What Professional Techniques Can Restore the Mill Finish?
Guessing the right restoration method is risky. Using the wrong abrasive or chemical can ruin the entire piece. Our guide details professional techniques for predictable, perfect results.
Professional techniques range from mechanical methods, like using specific non-woven abrasive pads in a uniform direction, to chemical treatments such as passivation with citric or nitric acid. The chosen method depends on the severity of the damage and the original finish.
The industry is seeing incredible innovation in this area. At MFY, we're tracking advancements in both abrasive technology and chemical treatments that are making restoration more efficient, effective, and environmentally friendly. This isn't just about fixing a problem; it's about leveraging technology to enhance the material's protective qualities while aligning with modern sustainability standards. Companies that adopt these newer, greener methods are positioning themselves as true industry leaders.
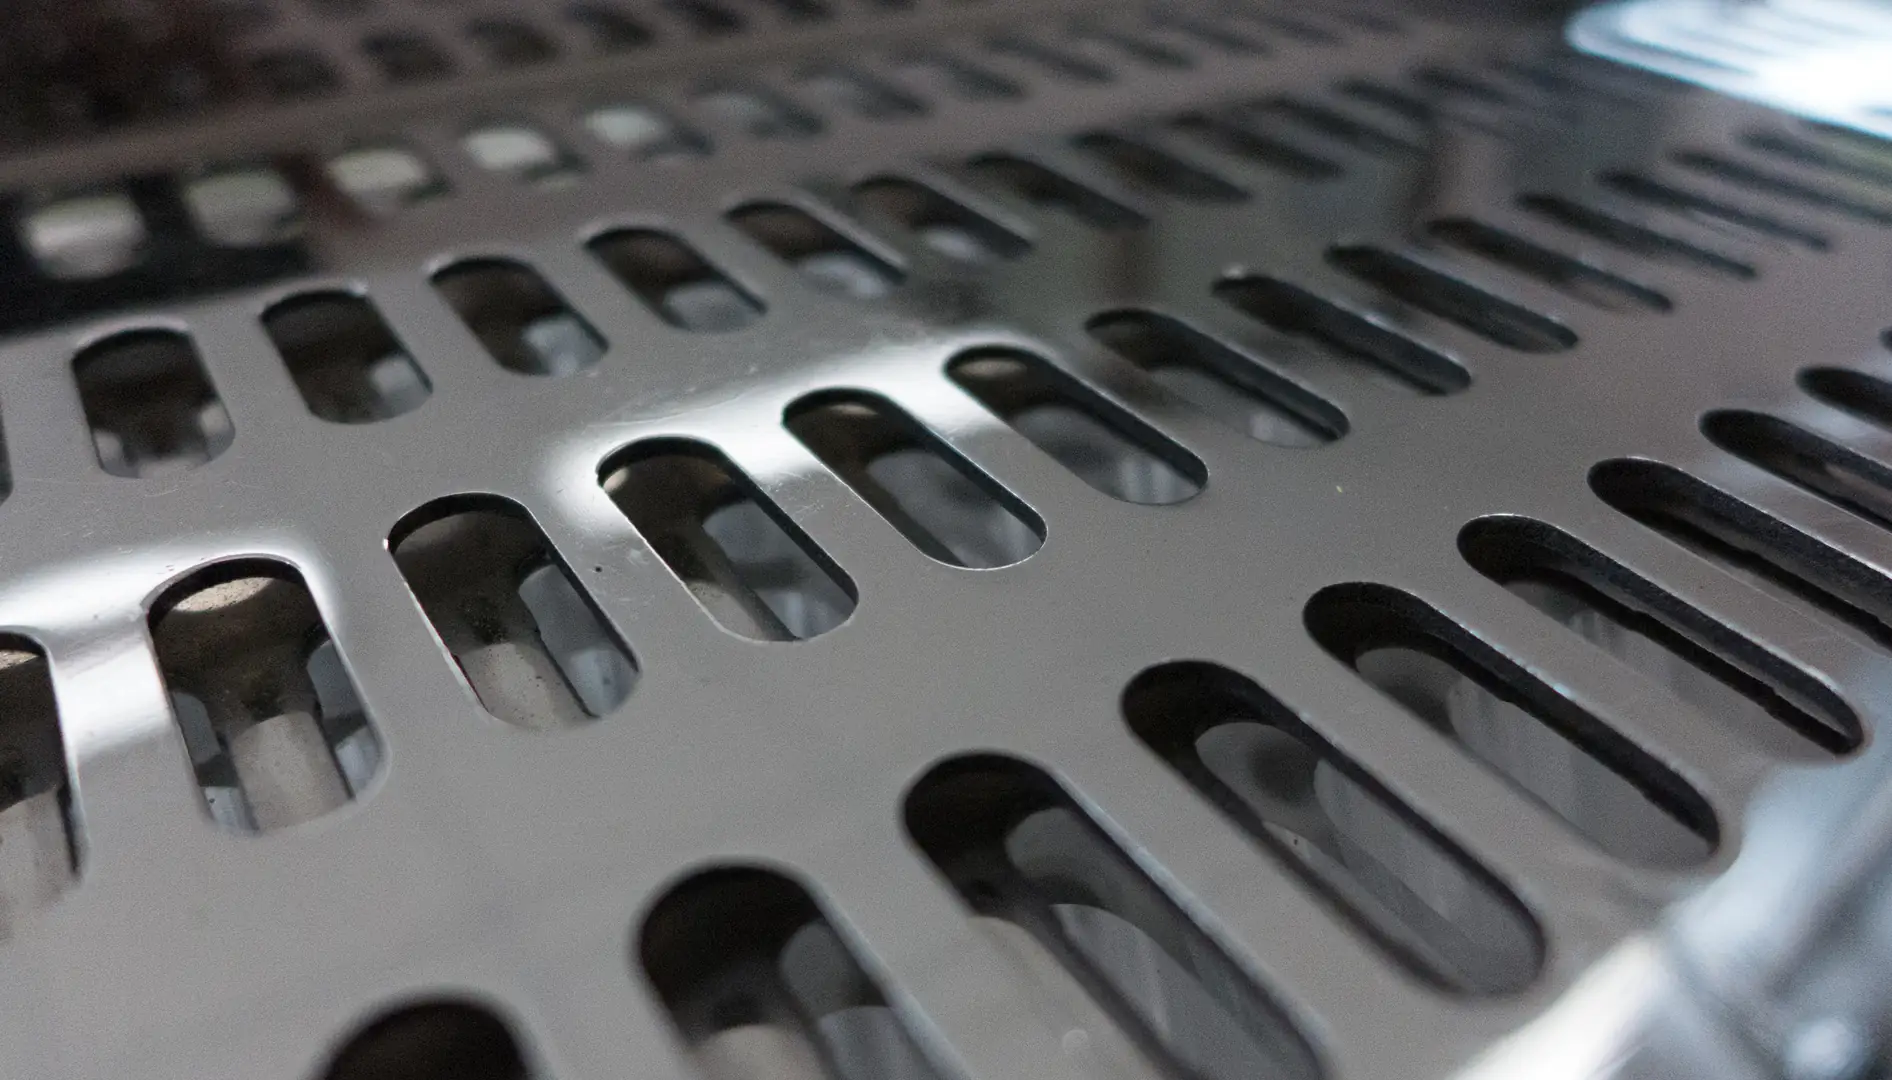
Mechanical Restoration: Abrasives and Technique
For physical damage like scratches, mechanical restoration is the answer. The goal is to use an abrasive to blend the scratch with the surrounding surface. The key is to always work in the direction of the existing grain or "brush" of the finish. Using a circular motion will create a noticeable and undesirable blemish. Non-woven abrasive pads are excellent for this, starting with a coarser grit for deep scratches and moving to a finer grit to blend the finish. It requires patience and a steady hand, but the results can be seamless.
Chemical Restoration: Passivation and Beyond
For issues like iron contamination or restoring the passive layer after welding, chemical treatments are necessary. Passivation is a process that uses a mild acid, typically citric or nitric acid, to remove free iron from the surface and accelerate the formation of the protective chromium oxide layer. Modern advancements are favoring citric acid-based solutions, which are much more environmentally friendly and safer for technicians than traditional nitric acid. These treatments are essential for ensuring maximum corrosion resistance, particularly in critical applications.
| Method | Best For | Pros | Cons |
|---|---|---|---|
| Mechanical | Scratches, abrasions, blending | Direct control, effective on physical flaws | Can be labor-intensive, risk of altering finish |
| Chemical | Iron contamination, post-welding | Restores passive layer, uniform treatment | Requires proper handling, can be hazardous |
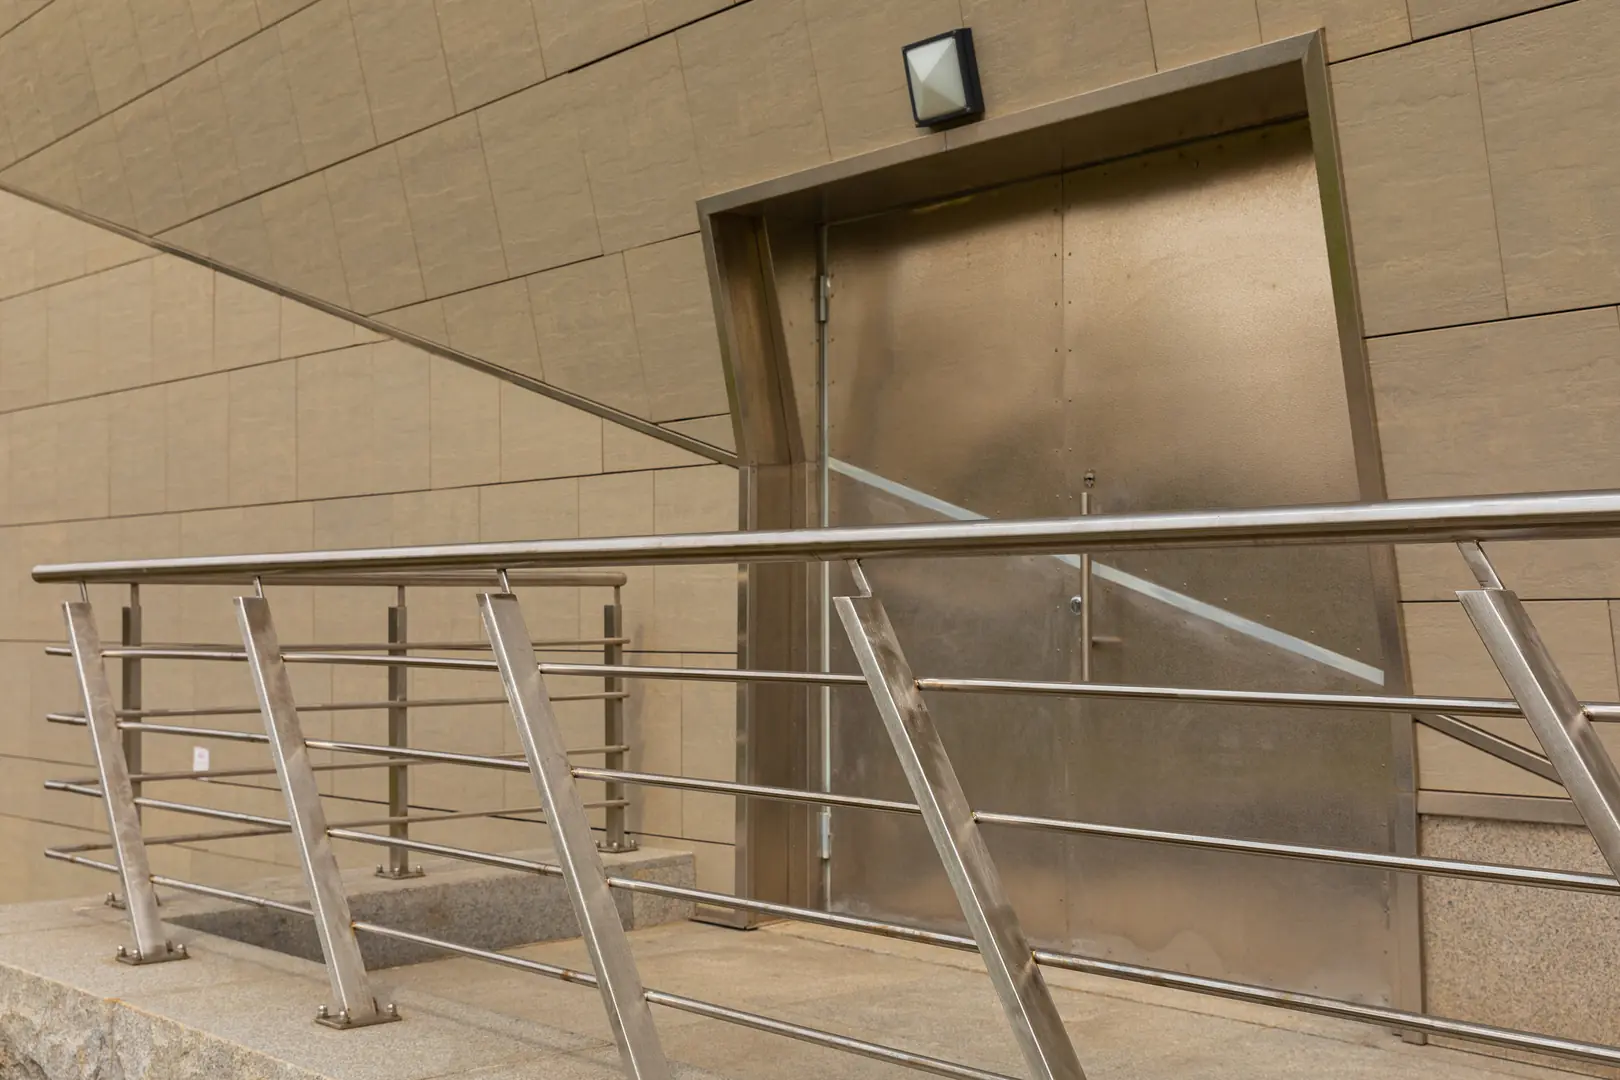
How Can You Maintain a Stainless Steel Surface to Keep it Looking New?
You've restored the finish, but how do you keep it perfect? Without a plan, damage will quickly reappear. A simple maintenance routine is your best defense.
To maintain a stainless steel surface, implement a routine of regular cleaning with mild soap and water, always wiping in the direction of the grain. Promptly remove contaminants and avoid harsh chemicals or abrasive steel wool to preserve the protective passive layer.
After investing time and resources into a perfect restoration, the last thing you want is to see the same problems return. The most successful projects I've been involved with are those where the client establishes a simple but consistent maintenance protocol. It’s the most cost-effective way to ensure the longevity and performance of your stainless steel assets. Prevention is always better, and cheaper, than a cure. A little bit of routine care goes a long way in protecting the material's integrity and appearance.
The Daily and Weekly Routine
The frequency of cleaning depends on the application. In a hygienic environment like a commercial kitchen, daily cleaning is a must. For architectural elements, weekly or monthly cleaning may be sufficient. The process is simple: wipe down the surface with a soft cloth and a mild detergent solution, rinse with clean water, and dry it completely. This simple act removes corrosive deposits and contaminants before they have a chance to do damage. Remember to always wipe parallel to the grain to avoid creating micro-scratches.
What to Absolutely Avoid
Maintaining stainless steel is as much about what you don't do as what you do. Never use steel wool or carbon steel brushes, as they will shed iron particles and cause rust. Avoid all cleaners containing chlorides, especially hydrochloric acid. Finally, don't let contaminants sit on the surface. Clean up spills of food, salt, or chemicals as soon as they occur.
| Do | Don't |
|---|---|
| Clean regularly with mild soap and water. | Use cleaners with chlorides or bleach. |
| Always wipe in the direction of the grain. | Use steel wool or carbon steel brushes. |
| Rinse thoroughly with clean water. | Allow contaminants to sit on the surface. |
| Dry the surface completely after cleaning. | Use abrasive powders that can scratch. |
Conclusion
Restoring a mill finish is a strategic process that protects your investment. By understanding the surface, using proper techniques, and performing regular maintenance, you extend the material's life, ensure its performance, and uphold the quality standards of your projects.
Have Questions or Need More Information?
Get in touch with us for personalized assistance and expert advice.