How to Perform a Corrosion Resistance Test on Stainless Steel
Worried your stainless steel won't withstand its environment? Corrosion leads to costly failures and damages your reputation. A standardized corrosion test provides the objective data you need for confident material selection.
Performing a corrosion resistance test on stainless steel involves five key steps: properly preparing the sample, choosing the right test method for the application, setting up a controlled environment, conducting the test per standards, and finally, analyzing the results to determine the material's performance.

At MFY, we don't just supply stainless steel; we ensure it performs. I’ve seen firsthand how a small investment in proper testing can prevent million-dollar problems down the line. It's not just about quality control; it's about safeguarding your project's integrity and your company's bottom line. This isn't an abstract laboratory exercise—it's a critical business decision. Let’s walk through the exact steps we take to validate material performance, a process that gives our partners complete peace of mind.
Step 1: How Do You Prepare the Stainless Steel Sample for Testing?
A contaminated sample can completely skew your results. Inaccurate data leads to poor material choices and future failures. Proper sample preparation ensures your test is reliable from the very start.
To prepare a stainless steel sample, you must thoroughly clean and degrease its surface to remove any oils or contaminants, rinse it with deionized water, and carefully document its initial condition, including weight and surface appearance, to establish a baseline for comparison.
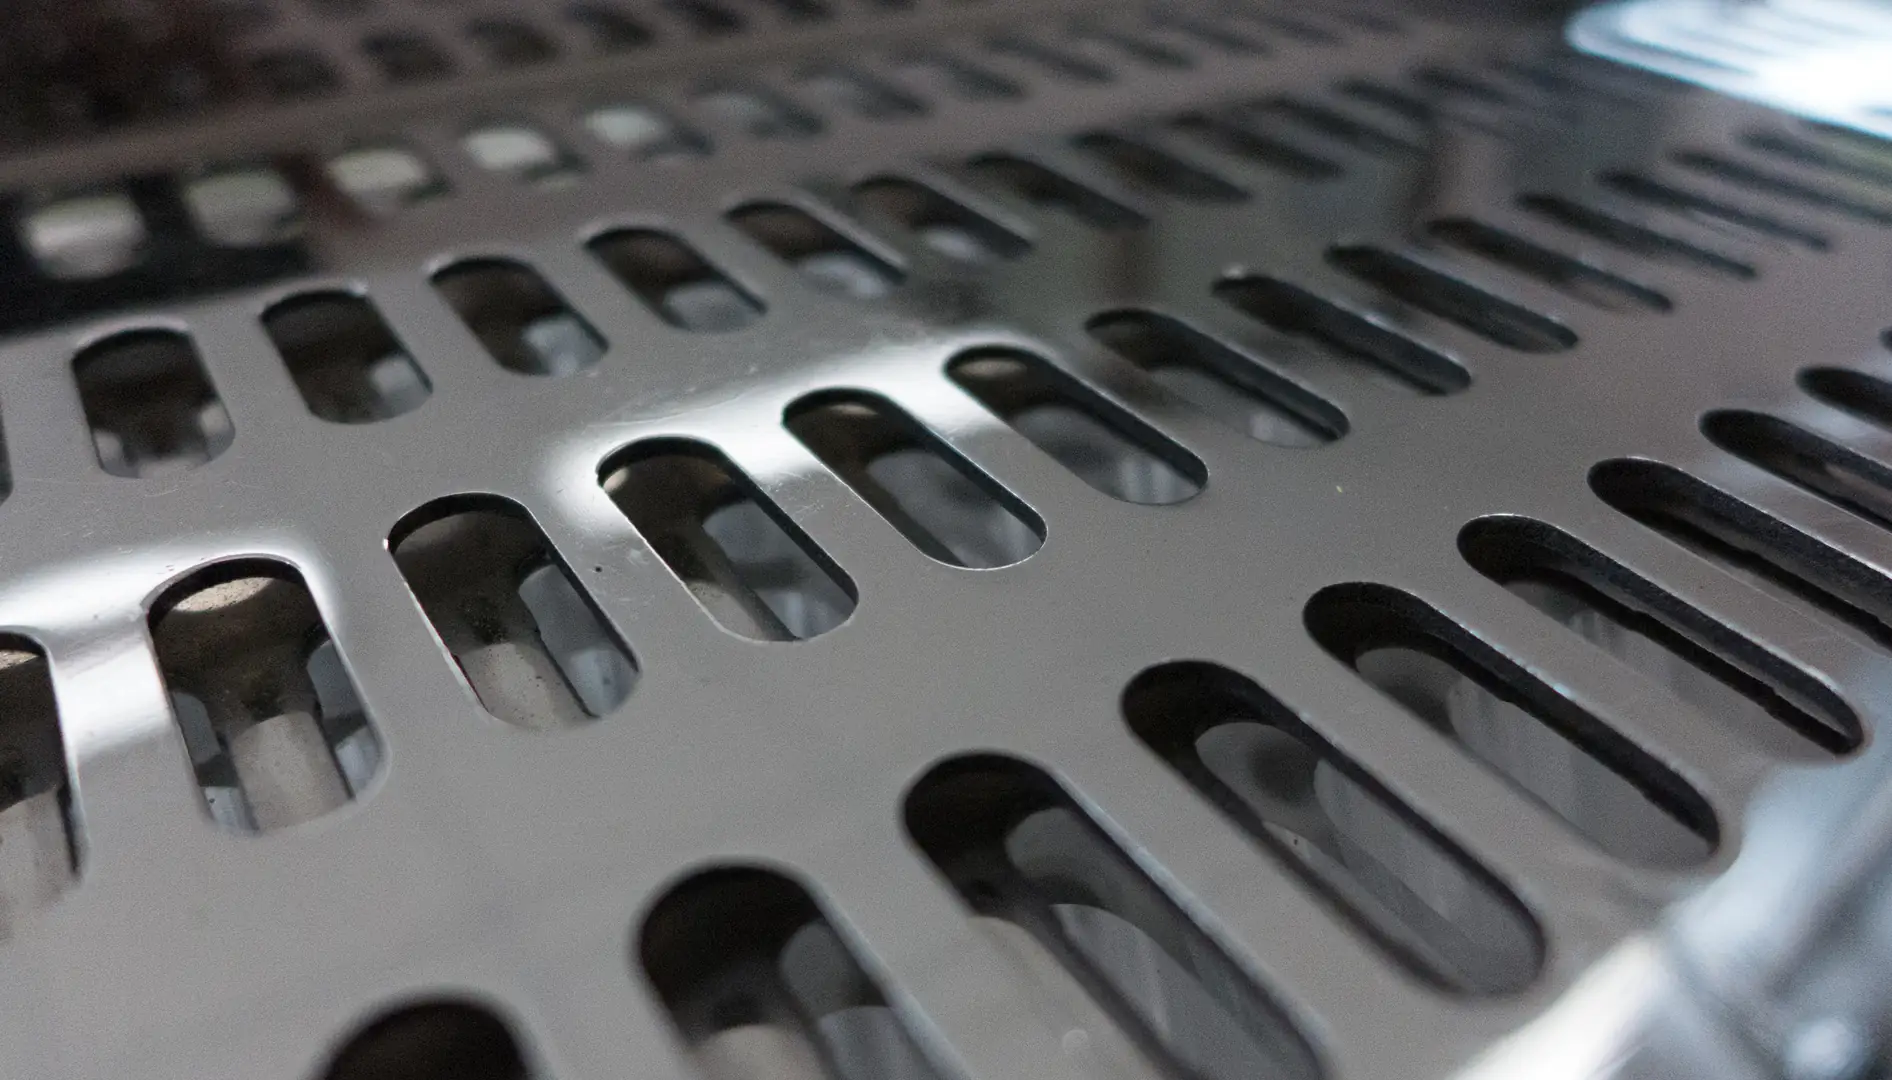
The principle of "garbage in, garbage out" applies perfectly here. If the sample isn't pristine, you're not testing the steel's inherent properties; you're testing the steel plus whatever dirt or grease is on its surface. This first step is non-negotiable for obtaining meaningful data. I remember a client in the food processing industry who couldn't understand why their 316L samples were failing a test. It turned out their preparation process was leaving a thin, invisible film from a cleaning agent, which was accelerating corrosion under test conditions. Once we corrected their preparation protocol, the results aligned with expectations.
Surface Cleaning and Degreasing
The goal is to create a chemically clean surface. This typically involves using a non-corrosive solvent like acetone or ethanol to remove any oils, grease, or fingerprints left over from handling or fabrication. After the solvent wash, a thorough rinse with deionized or distilled water is crucial to remove any solvent residue. The sample must then be dried completely, often using a stream of clean, dry air, without being touched by bare hands.
Sample Documentation
Before the test begins, you must create a detailed record of the sample. This includes:
- Measuring its precise dimensions and weight.
- Photographing its initial state from multiple angles.
- Noting any existing surface features or imperfections.
This baseline data is essential. Without it, you have no objective way to measure the extent of corrosion after the test is complete. It transforms a subjective observation into a quantifiable result.
Step 2: How Do You Choose the Right Testing Method for Corrosion Resistance?
With many testing methods available, how do you pick one? Choosing the wrong test wastes time and provides data that is irrelevant to your real-world application, leading to flawed decisions.
Choosing the right method depends on your application. For general atmospheric corrosion, a salt spray test (ASTM B117) is common. For specific chemical resistance, immersion tests are used. For predictive analysis, advanced electrochemical tests provide rapid, quantitative data.

Selecting the right test is a strategic decision. You need a method that simulates the intended service environment as closely as possible. A component for a marine vessel needs a different test than a part for a chemical processing plant. At MFY, we guide our clients through this selection because the data is only valuable if it’s relevant. Moving beyond simple pass/fail tests to predictive methods like electrochemical testing allows us to not only validate a material but also to forecast its service life, a crucial piece of information for long-term strategic planning and minimizing lifecycle costs.
Common Corrosion Testing Methods
Different scenarios call for different tools. Here is a simple breakdown of the most common methods we use to help our partners make informed decisions.
| Test Method | Лучшее для | Key Output |
|---|---|---|
| Salt Spray Test | Simulating marine or high-salinity environments. | Visual evidence of rust (pass/fail) after a set time. |
| Immersion Test | Evaluating performance in specific chemical solutions. | Weight loss measurement over time to calculate corrosion rate. |
| Electrochemical Test | Rapidly predicting corrosion rates and pitting susceptibility. | Quantitative data on corrosion potential and speed. |
Strategic Method Selection
For many of our partners in engineering and construction, the question isn't just "Will it rust?" but "How fast will it corrode, and where will it fail first?" This is where electrochemical methods like [Potentiodynamic Polarization](#placeholder_5)[^4] scans[^1] are invaluable. They don't just tell you if the material is resistant; they provide quantifiable data on the rate of corrosion and the material's vulnerability to localized pitting. This level of insight allows engineers to design more proactively and build in safety margins based on data, not just assumptions.
Step 3: How Should You Set Up the Testing Environment and Equipment?
The test environment must be perfectly controlled. Even minor fluctuations in temperature, humidity, or chemical concentration can invalidate the entire test, forcing you to start over.
A proper test setup requires calibrating all equipment, such as pH meters and temperature sensors, precisely preparing the corrosive solution according to standards, and maintaining a stable, documented environment throughout the duration of the test to ensure reproducibility and accuracy.
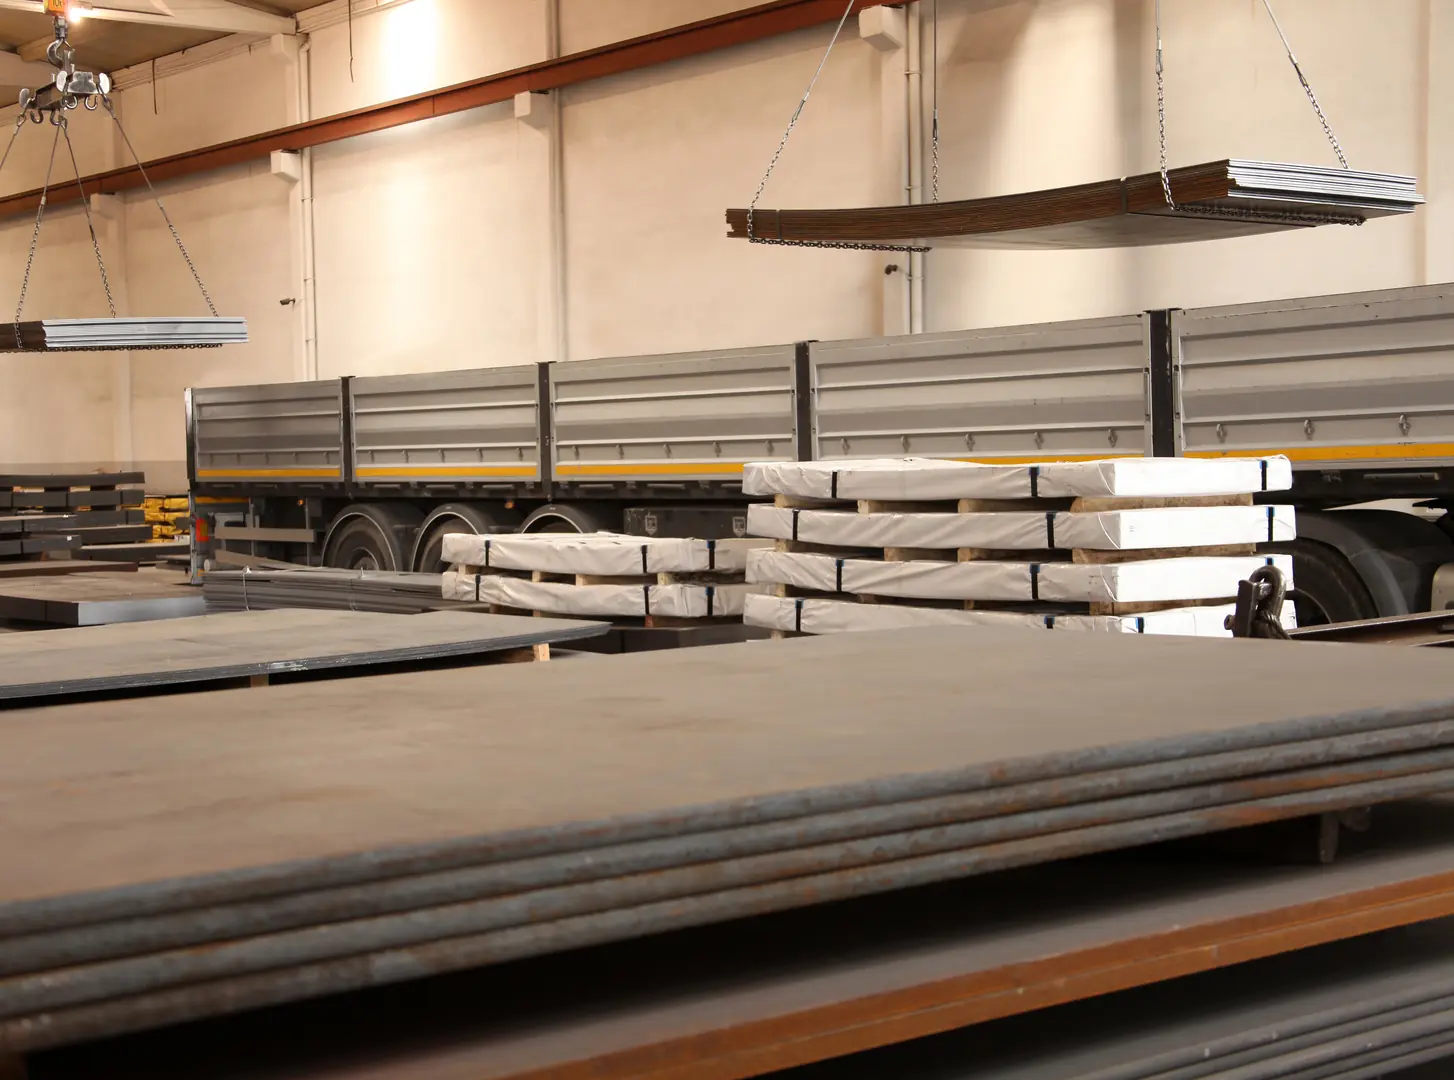
Consistency is the bedrock of reliable testing. Every variable must be locked down. At our MFY facilities, our labs are strictly controlled for this very reason. Whether we are setting up a salt spray cabinet or an electrochemical cell, we follow a rigorous checklist. This isn't just about following a standard; it's about eliminating any doubt in the results. When we provide a test certificate to a client, they need to know that the data is accurate and repeatable, reflecting the true performance of the stainless steel they are purchasing.
Equipment Calibration
Before any test begins, all measurement devices must be calibrated. This includes temperature probes, pH meters, and any potentiostats used for electrochemical testing. Calibration ensures that the conditions you set are the conditions the sample actually experiences. A test run at what you think is 35°C but is actually 40°C could produce a false failure, leading you to reject a perfectly good material.
Controlling Environmental Variables
For a common test like the ASTM B117 salt spray, the standard dictates very specific parameters. The salt solution must have a 5% NaCl concentration, a pH between 6.5 and 7.2, and the chamber must be kept at a constant 35°C. These variables are not suggestions; they are requirements. Maintaining and logging these conditions throughout the test is mandatory for the results to be considered valid under the standard.
Step 4: How Do You Conduct the Corrosion Resistance Test?
Running the test procedure requires focus and precision. A poorly executed test means starting over from scratch, wasting valuable time, materials, and resources on unreliable data.
To conduct the test, place the prepared sample in the calibrated equipment, initiate the exposure to the corrosive environment as defined by the standard (e.g., ASTM B117), and monitor the process for the specified duration, logging all data and observations systematically.
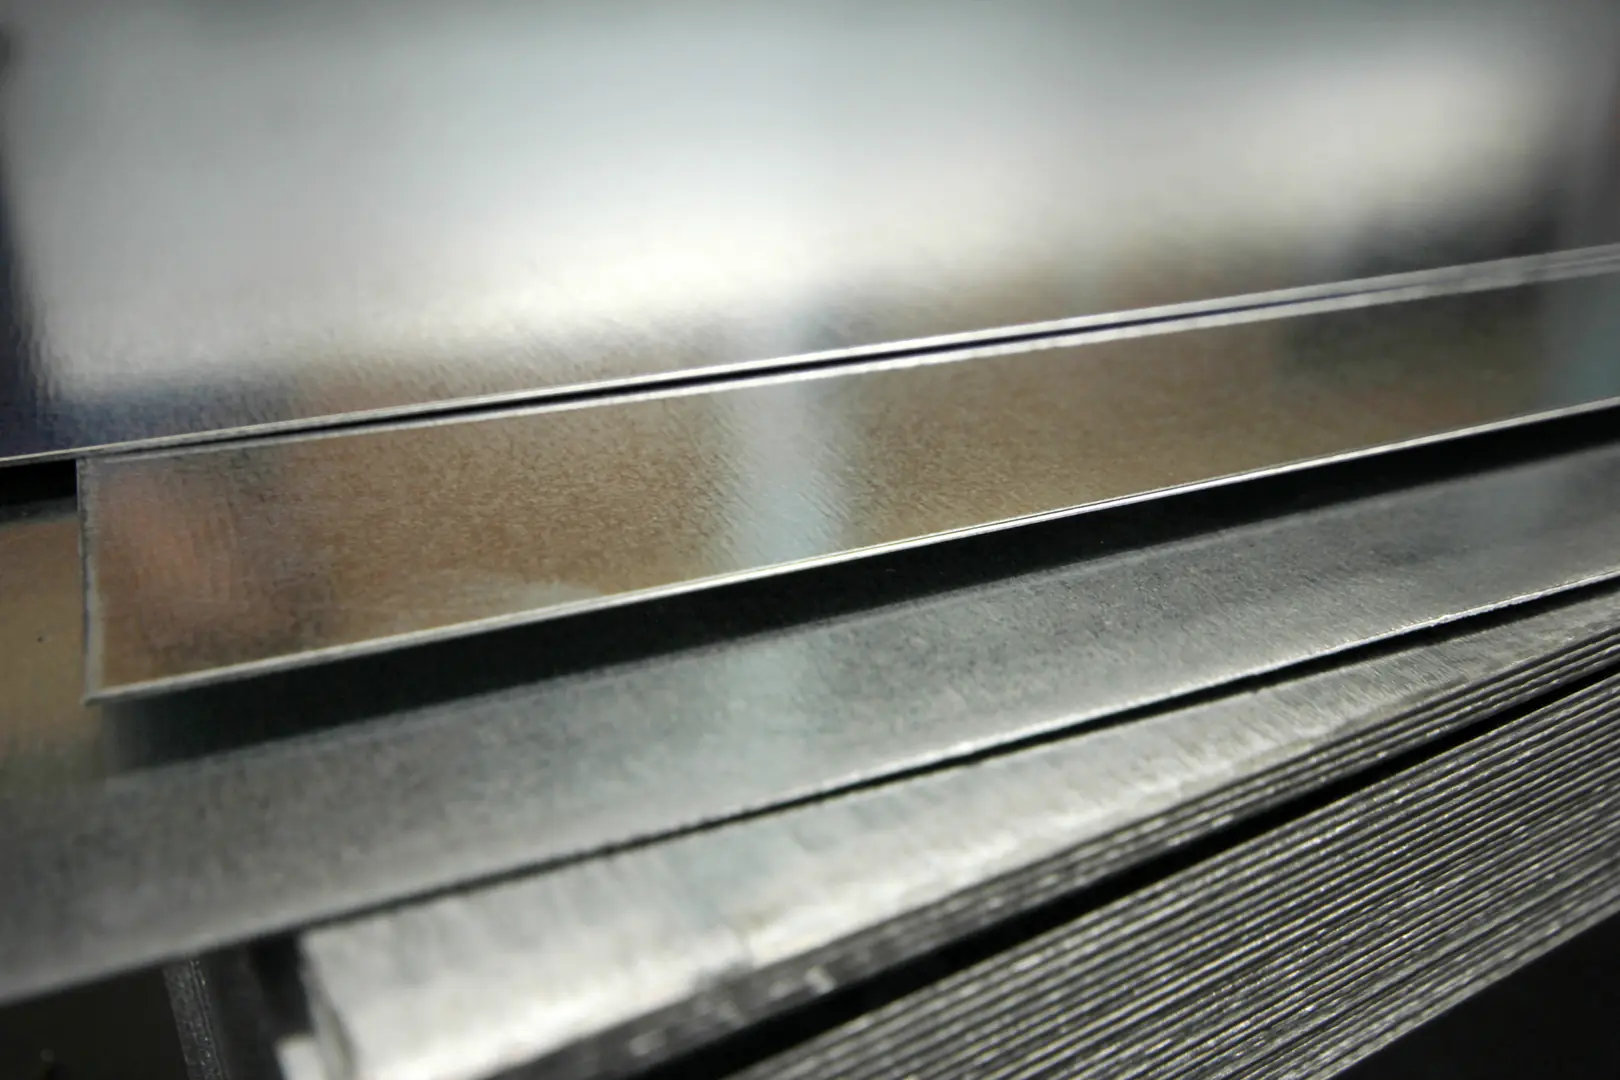
This is the phase where patience and adherence to protocol pay off. The test is initiated and often left to run for hundreds or even thousands of hours. During this time, it's not a "set it and forget it" operation. I once visited a partner's facility where a long-duration test was ruined because a technician failed to notice the salt solution reservoir had run dry over a weekend. Regular, documented checks are critical. At MFY, our testing protocols include mandatory periodic checks on all active tests to ensure the environmental conditions remain stable and the equipment is functioning perfectly. This rigor is how we guarantee the integrity of our results.
Following Standardized Protocols
Every established test method is governed by a standard, such as ASTM, ISO, or JIS[^2]. These documents are the instruction manual. They specify everything from how to position the sample in the chamber (e.g., at a 15-30 degree angle from the vertical for a salt spray test) to the duration of the exposure. Deviating from the standard invalidates the test, making it impossible to compare your results against a benchmark or a competitor’s material.
Data Logging and Observation
Throughout the test, it's important to keep a detailed log. This includes:
- Recording the environmental parameters (temperature, pH, etc.) at regular intervals.
- Noting any visual changes to the sample at scheduled inspection times.
- Documenting any interruptions or anomalies in the test procedure.
This log becomes part of the final report and provides a complete history of the test, adding credibility and context to the final results.
Step 5: How Do You Analyze and Interpret the Test Results?
The test is complete, but what does the data actually mean? Misinterpreting the results can be just as damaging as not performing the test at all, leading to incorrect material choices.
To analyze the results, carefully remove the sample, gently rinse it without disturbing the corrosion products, and evaluate it against the baseline. This includes visual inspection for rust or pitting, measuring weight loss, and comparing the findings to the acceptance criteria.
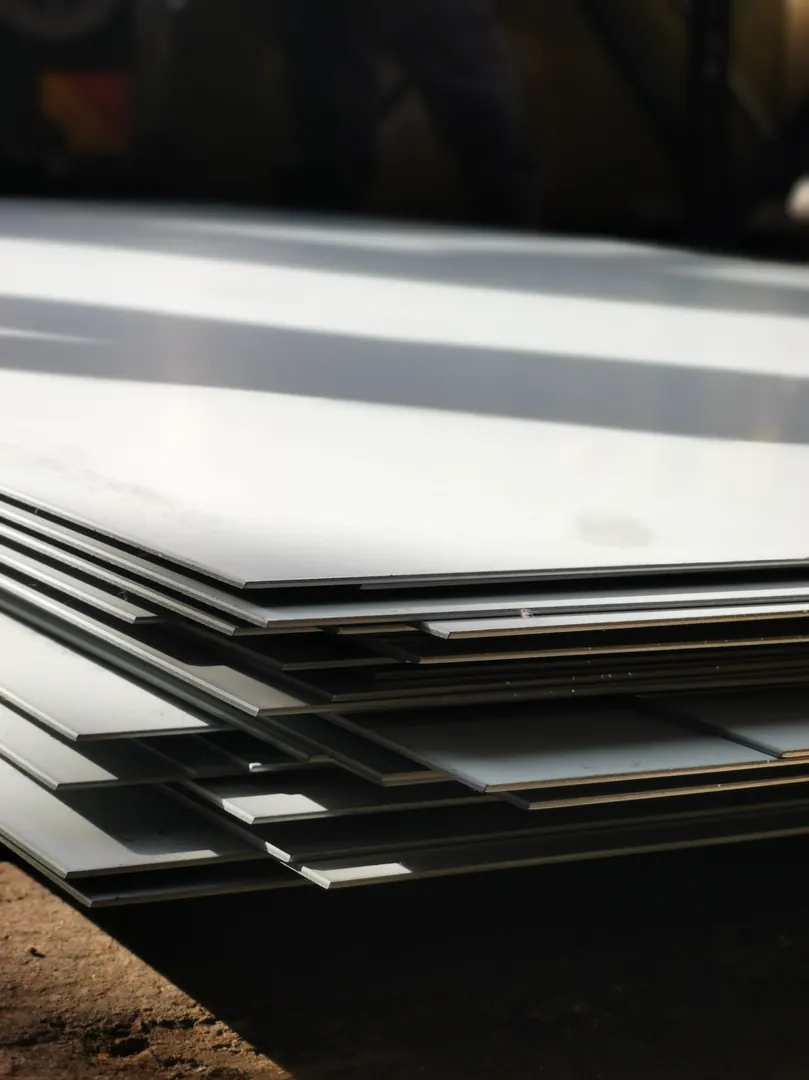
This is the final, crucial step: turning raw data into actionable business intelligence. The analysis tells you whether the material met the standard, but the interpretation tells you whether the material is right for your project. This is where experience matters. I’ve seen reports that show minor surface staining, which might be a technical "failure" by one standard but is perfectly acceptable and expected in the final application. Understanding this context is key to avoiding over-engineering and unnecessary costs.
Qualitative vs. Quantitative Analysis
Analysis can take two forms.
- Qualitative Analysis: This is a visual assessment. You look for signs of corrosion like red rust, pitting, or crevice corrosion. The results are often graded against a photographic standard (e.g., "no more than 5% of the surface showing red rust").
- Quantitative Analysis: This involves measurement. The most common method is calculating weight loss. By comparing the final weight to the initial weight, you can determine the corrosion rate in units like millimeters per year, providing a hard number for engineering calculations.
Translating Data into Business Decisions
The ultimate goal is to make a smart decision. If a sample of 304 stainless steel shows early signs of pitting in a salt spray test, the data isn't just a failure report. It's a clear signal that a more resistant grade, like 316L or even a duplex stainless steel, might be required for the intended coastal application. This data-driven approach, which we champion at MFY, replaces guesswork with certainty, protecting our clients' investments and ensuring the long-term reliability of their projects.
Заключение
Systematic corrosion testing is more than a quality check; it’s a strategic imperative. Following these five steps ensures you get reliable, actionable data. This process empowers you to select the right materials, prevent costly failures, and build with confidence, ensuring long-term success for your projects.
У вас есть вопросы или нужна дополнительная информация?
Свяжитесь с нами, чтобы получить индивидуальную помощь и квалифицированный совет.

