7 Common Defects in Stainless Steel Sheet Metal Forming Processes
Struggling with costly defects in your forming process? These issues disrupt production and erode profits. We provide the expertise to turn these challenges into competitive advantages for your business.
The seven most common defects in stainless steel sheet metal forming are cracking, wrinkling, springback, surface scratches, dimensional inaccuracies, thinning, and excessive tool wear. Understanding the root cause of each is essential for maintaining quality, efficiency, and profitability in manufacturing operations.
As the Global Business Director at MFY, I've seen firsthand how these seemingly small imperfections can have a massive impact on a project's timeline and budget. The key isn't just to identify them, but to understand the complex interplay of material, machinery, and process that causes them. In this article, I'll break down these common defects and share the insights we've gained from decades of experience in the global stainless steel supply chain. Let’s explore how to move from simply fixing problems to preventing them altogether.
What are the most common defects in stainless steel sheet metal forming?
Unsure what to look for when inspecting formed parts? These hidden flaws can compromise structural integrity. Knowing the seven key defects is the first step toward better quality control.
The most common defects are cracking, wrinkling, springback, scratches, dimensional inaccuracies, thinning, and tool wear. Each points to a specific issue in the forming process, from material stress to equipment misalignment, and requires a targeted solution to ensure consistent, high-quality output.

At MFY, we don't just see these as problems; we see them as data points. Each defect tells a story about the forming process. By listening to what the material is telling us, we can refine our methods and push the boundaries of what's possible. I remember a case with a client in the automotive sector where persistent wrinkling issues were solved not by changing the material, but by adjusting the blank holder pressure[^1] by a mere 5%. This level of detail is what separates standard production from true manufacturing excellence. Understanding these defects is fundamental for any professional aiming to optimize their operations and deliver superior products.
A Deeper Look at the Core Issues
To effectively manage production quality, you must be able to identify and categorize these issues. They are often interrelated, with one defect causing another.
| Defect Type | Primary Cause | Common Impact |
|---|---|---|
| Cracking | Excessive tensile stress, low material ductility | Part failure, material waste |
| Wrinkling | Insufficient blank holder force, compressive stress | Poor surface finish, assembly issues |
| Springback | Elastic recovery of the material after forming | Dimensional inaccuracy, poor fit |
| Scratches | Poor lubrication, rough tooling, foreign particles | Aesthetic rejection, corrosion risk |
| Dimensional Inaccuracy | Springback, tool wear, incorrect alignment | Assembly problems, part rejection |
| Thinning | Excessive stretching or drawing | Reduced structural integrity, weak spots |
| Tool Wear | High friction, incorrect material selection for tooling | Inconsistent part quality, high maintenance costs |
From Defect to Data
Each of these defects signals an opportunity for process improvement. For instance, consistent thinning in a specific area suggests that the die design or forming pressure needs re-evaluation. Similarly, premature tool wear might indicate a need for better lubricants or a harder tool material. In our integrated supply chain at MFY, we track these metrics rigorously, feeding the data back into our production and material selection processes. This continuous feedback loop is crucial for the agile and resilient operations that our clients depend on.
What causes surface scratches during the forming process?
Are you seeing fine lines and marks on your finished parts? These scratches ruin the aesthetic and can compromise corrosion resistance. The cause is often friction and contamination during forming.
Surface scratches are primarily caused by friction between the stainless steel sheet and the tooling (die and punch). This is often aggravated by inadequate lubrication, rough tool surfaces, or the presence of foreign particles like dust or metal debris in the forming area.
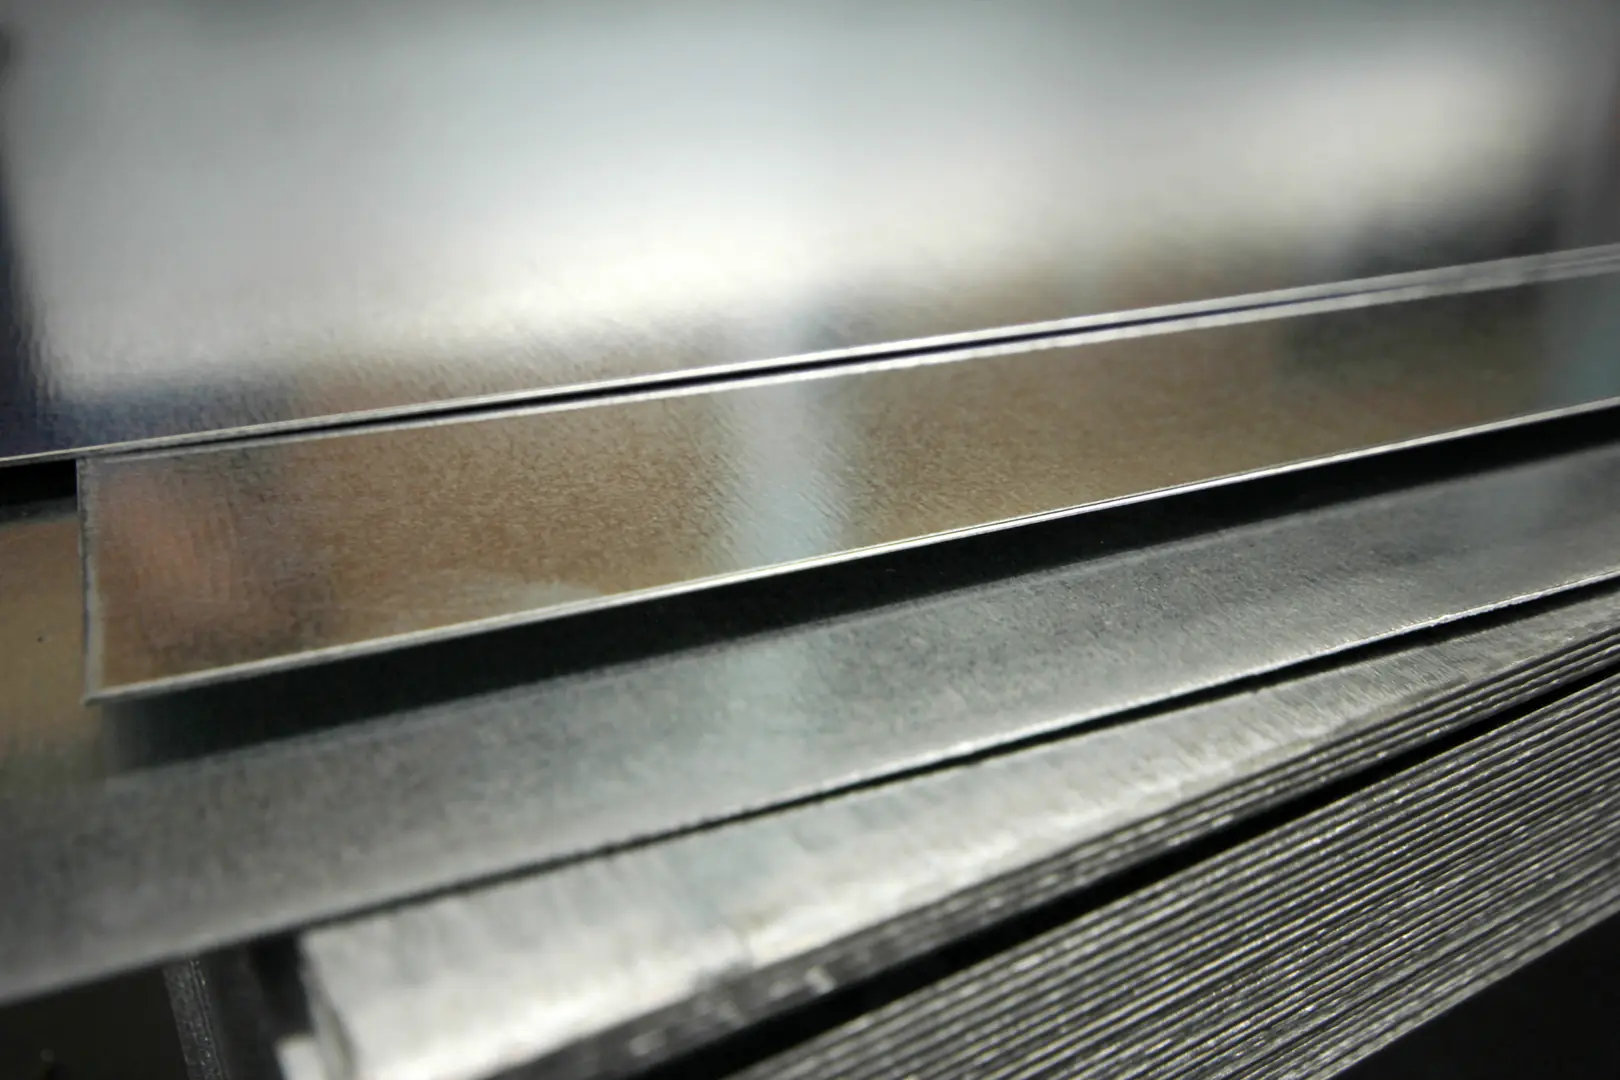
I once visited a client's facility in Germany that was producing high-end kitchen appliances. They were facing a high rejection rate due to minor scratches that were almost invisible to the naked eye but showed up after polishing. The issue wasn't the quality of our stainless steel, but tiny metal filings from a nearby grinding station contaminating their press. It was a simple fix—better housekeeping and a sealed-off forming area—but it highlights how critical the entire production environment is. Controlling surface finish is not just about the machine; it's about a holistic approach to cleanliness and process control.
Breaking Down the Causes of Scratches
To eliminate scratches, you have to look at the entire interaction between the sheet and its environment. The main culprits can be grouped into three areas.
Tooling and Die Condition
The surface of your tools is the first point of contact. Any roughness, nicks, or wear on the die, punch, or blank holder will directly transfer to the stainless steel sheet. Over time, friction causes abrasive wear on the tool surfaces, creating microscopic sharp edges that act like a file against the workpiece. Regular inspection, polishing, and using hardened, coated tool steels are essential to maintain a smooth, non-abrasive surface.
Lubrication Failure
Lubrication is the single most important factor in preventing friction. The right lubricant creates a thin, resilient film that separates the tool from the workpiece. Failures occur when:
- The wrong type of lubricant is used (e.g., one with insufficient film strength for the pressure).
- The lubricant is applied unevenly, leaving dry spots.
- The lubricant breaks down under the heat and pressure of the forming operation.
We advise our partners to test and select lubricants specifically designed for stainless steel forming, as its properties differ significantly from carbon steel.
Environmental Contamination
The workshop environment plays a surprisingly large role. Airborne dust, debris from other operations, or small metal particles left over from a previous run can get trapped between the die and the sheet. Under immense forming pressure, even a tiny particle can be dragged across the surface, causing a deep scratch. Implementing strict cleaning protocols for both the machinery and the raw material before it enters the press is a non-negotiable step for achieving a flawless finish.
How does incorrect tool alignment lead to dimensional inaccuracies?
Are your formed parts failing to meet spec? Even with perfect material, poor tool alignment can cause significant deviations. This misalignment directly creates uneven pressure and material flow.
Incorrect tool alignment causes uneven pressure distribution and material flow during forming. This leads to defects like non-uniform wall thickness, twisting, and unpredictable springback, all of which result in the final part failing to match the required dimensional tolerances.
Dimensional accuracy is everything, especially in industries like aerospace or automotive where parts must fit together perfectly. I recall a project for an engineering contractor in the Middle East building a complex facade. Their panels were showing a slight twist, causing major installation headaches. After a visit, we discovered their press tooling was off by less than a millimeter. This tiny error, amplified over the large surface area of the panel, was the root cause. It drove home the point that in stainless steel forming, precision isn't just a goal; it's a fundamental requirement.
The Mechanics of Misalignment
When the punch, die, and blank holder are not perfectly concentric and parallel, the entire forming process is compromised. The forces that are meant to shape the metal uniformly are instead applied unevenly, leading to a cascade of problems.
Uneven Material Flow and Thinning
Proper alignment ensures the gap between the punch and die is consistent. If they are misaligned, one side of the part will have a larger gap, and the other will have a smaller one. Metal will be drawn unevenly into the die cavity. The side with the smaller gap will be pinched and stretched excessively, causing severe thinning and potential weak points. Conversely, the side with the larger gap may not receive enough tension, leading to wrinkling. The result is a part with inconsistent wall thickness and compromised structural integrity.
Unpredictable Springback
Springback is the elastic recovery of the material after the forming pressure is released. Its effects are predictable when forces are uniform. However, misalignment introduces non-uniform stresses throughout the part. Some areas are overworked, while others are under-stressed. When the pressure is removed, these different zones recover by different amounts, causing the part to twist, warp, or deviate from its intended shape in unpredictable ways. This makes it incredibly difficult to compensate for springback, as it is no longer a consistent variable. At MFY, we often recommend using materials with higher strength and lower elastic modulus to help mitigate this, but it cannot fully compensate for poor machine setup.
What are the effects of excessive forming force on stainless steel sheets?
Applying more force seems like an easy fix, but does it create more problems? Over-pressurizing the steel leads to cracking and thinning. It fundamentally damages the material's internal structure.
Excessive forming force pushes the stainless steel beyond its natural ductility limit. This results in critical defects like localized thinning, which weakens the part, and cracking, which leads to complete failure. It also accelerates tool wear, increasing operational costs.
Many operators believe that if a little force is good, more must be better. This is a dangerous misconception in metal forming. The goal is to coax the material into a new shape, not to bludgeon it. I've seen countless rejected parts where the cause was simply too much tonnage applied too quickly. The steel sheet becomes work-hardened almost instantly, loses its ability to flow, and then simply tears. Understanding the material's limits is paramount. We work closely with our clients to provide detailed material specifications, including tensile strength and elongation data, so they can calibrate their forces precisely.
Beyond the Yield Point
Every metal has an elastic limit and a ultimate tensile strength. Excessive force pushes the material past these critical thresholds, causing irreversible damage.
Localized Thinning and Necking
When the forming force is too high, it causes the stainless steel sheet to stretch too much in a specific area. This localized stretching is known as "necking[^2]," where the material's cross-section rapidly decreases. This thinned area becomes the weakest point in the entire component. While some thinning is unavoidable in deep drawing processes, excessive force concentrates all the deformation in one spot. The part may look fine cosmetically, but it will have a hidden vulnerability that could lead to failure under operational stress. This is particularly dangerous in applications involving pressure or structural loads.
Cracking and Fracture
If the force continues to increase after necking begins, the material will reach its fracture point. This results in cracks, splits, or a complete tear in the part. This is not just a rejected part; it's a total loss of material, time, and energy. Cracking is most common in areas with tight radii or complex geometries where the material is subjected to the highest levels of stress. It’s a clear sign that the process is out of control and the force applied is far greater than what the material's ductility can accommodate. The solution lies in reducing force, improving lubrication, or redesigning the die to allow for a more gradual flow of material.
What solutions can be implemented to minimize defects in the forming process?
Tired of fighting the same defects over and over? A proactive strategy is needed. Combining smart process control with advanced technology offers a robust solution for defect prevention.
To minimize defects, implement a multi-faceted strategy: optimize tool design and material selection, refine lubrication techniques, ensure precise machine calibration, and provide thorough operator training. For a next-level approach, integrate advanced technologies like AI-driven predictive analytics and digital twins.

For years, the industry has relied on operator experience and trial-and-error to solve these issues. But at MFY, we believe the future lies in a more data-driven, preventative approach. We are moving beyond simply reacting to defects. By embracing the principles of Industry 4.0, we can create systems that anticipate problems before they occur. This isn't just a theoretical concept; it's a practical shift that enhances our ability to deliver the highest quality stainless steel products with unmatched reliability and speed. This is how we build a truly agile and resilient supply chain for our global partners.
A Two-Pronged Strategy for Flawless Forming
The path to zero defects involves perfecting the fundamentals while simultaneously embracing the future of manufacturing technology.
Mastering the Fundamentals
Before any advanced technology can be effective, the core process must be sound. This is the foundation of quality.
- Material Selection: Work with your supplier to choose the right grade of stainless steel with the optimal ductility and strength for your specific application.
- Tooling: Use high-quality, properly hardened, and polished tool steels. Regularly inspect for wear and maintain a strict maintenance schedule.
- Lubrication: Invest in high-performance lubricants designed for stainless steel. Develop a standardized and consistent application process.
- Calibration & Training: Ensure your presses are precisely calibrated and that your operators are thoroughly trained on the nuances of forming stainless steel.
Embracing Industry 4.0 for Predictive Quality
This is where we turn defect data into a strategic asset. Instead of just identifying a crack, we can predict its likelihood and prevent it.
- AI-Driven Analytics: By installing sensors on the presses to monitor variables like force, temperature, and vibration, we can feed this data into an AI model. The model learns to recognize patterns that precede defects. It can then alert operators to make real-time adjustments or even automatically tweak process parameters to stay within the optimal window.
- Digital Twins: We can create a virtual replica—a digital twin—of the entire forming process. Before running a single physical part, we can simulate the process on the computer, test different parameters, and identify potential problem areas like excessive thinning or high springback. This allows us to optimize the process virtually, saving immense amounts of time and material. This forward-thinking approach is central to our mission at MFY to drive innovation in the stainless steel supply chain.
Conclusion
Understanding and controlling the seven common forming defects is not just about reducing waste; it's about elevating your operational standards. By mastering the fundamentals and embracing new technologies like AI and digital twins, you can transform your manufacturing process from reactive to predictive, ensuring superior quality and efficiency.
Have Questions or Need More Information?
Get in touch with us for personalized assistance and expert advice.

