How to Identify and Mitigate Critical Milling Defects in Stainless Steel
Struggling with costly milling defects in your stainless steel parts? These errors waste material, time, and damage your reputation. Let's explore a systematic approach to achieve defect-free production.
Identifying and mitigating milling defects in stainless steel involves a five-step process: understanding common defects, using advanced identification techniques, analyzing root causes, implementing targeted mitigation strategies, and establishing preventative best practices. This systematic approach ensures consistent quality and operational efficiency.
In my role at MFY, I've spoken with countless manufacturing partners who face the daily challenge of ensuring perfection in their stainless steel components. The difference between a profitable production run and a costly failure often comes down to how well a team can manage the nuances of the milling process. It's not just about fixing problems as they appear; it's about building a system that prevents them from happening in the first place. Together, we'll walk through a clear, five-step framework that transforms defect management from a reactive headache into a proactive advantage.
What are the Common Milling Defects in Stainless Steel?
Unfamiliar defects are appearing on your finished parts. Ignoring these signs leads to scrapped material and costly production failures. Let's clearly define the most common issues you'll face.
Common stainless steel milling defects include poor surface finish, dimensional inaccuracies, work hardening, built-up edge (BUE), and excessive tool wear. Each signals a specific problem within the machining process that requires immediate attention to maintain product quality and integrity.
Before we can solve a problem, we must be able to name it. In stainless steel milling, defects are symptoms of an underlying issue in the process. Recognizing them is the critical first step. I remember a client in Germany who was struggling with inconsistent part quality; once we helped them categorize the defects they were seeing, the path to a solution became much clearer. It all starts with a shared language.
Key Defect Categories
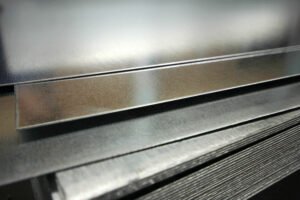
Understanding the "what" is fundamental. Poor surface finish, for example, can manifest as visible tool marks or a rough texture, making the part unsuitable for its intended application. Dimensional inaccuracies mean the part simply doesn't meet the required specifications, leading to assembly issues or outright rejection. Work hardening is a particular challenge with stainless steel, where the material becomes harder and more difficult to cut during the process, accelerating tool wear and potentially damaging the workpiece.
Deeper Material and Tool Interactions
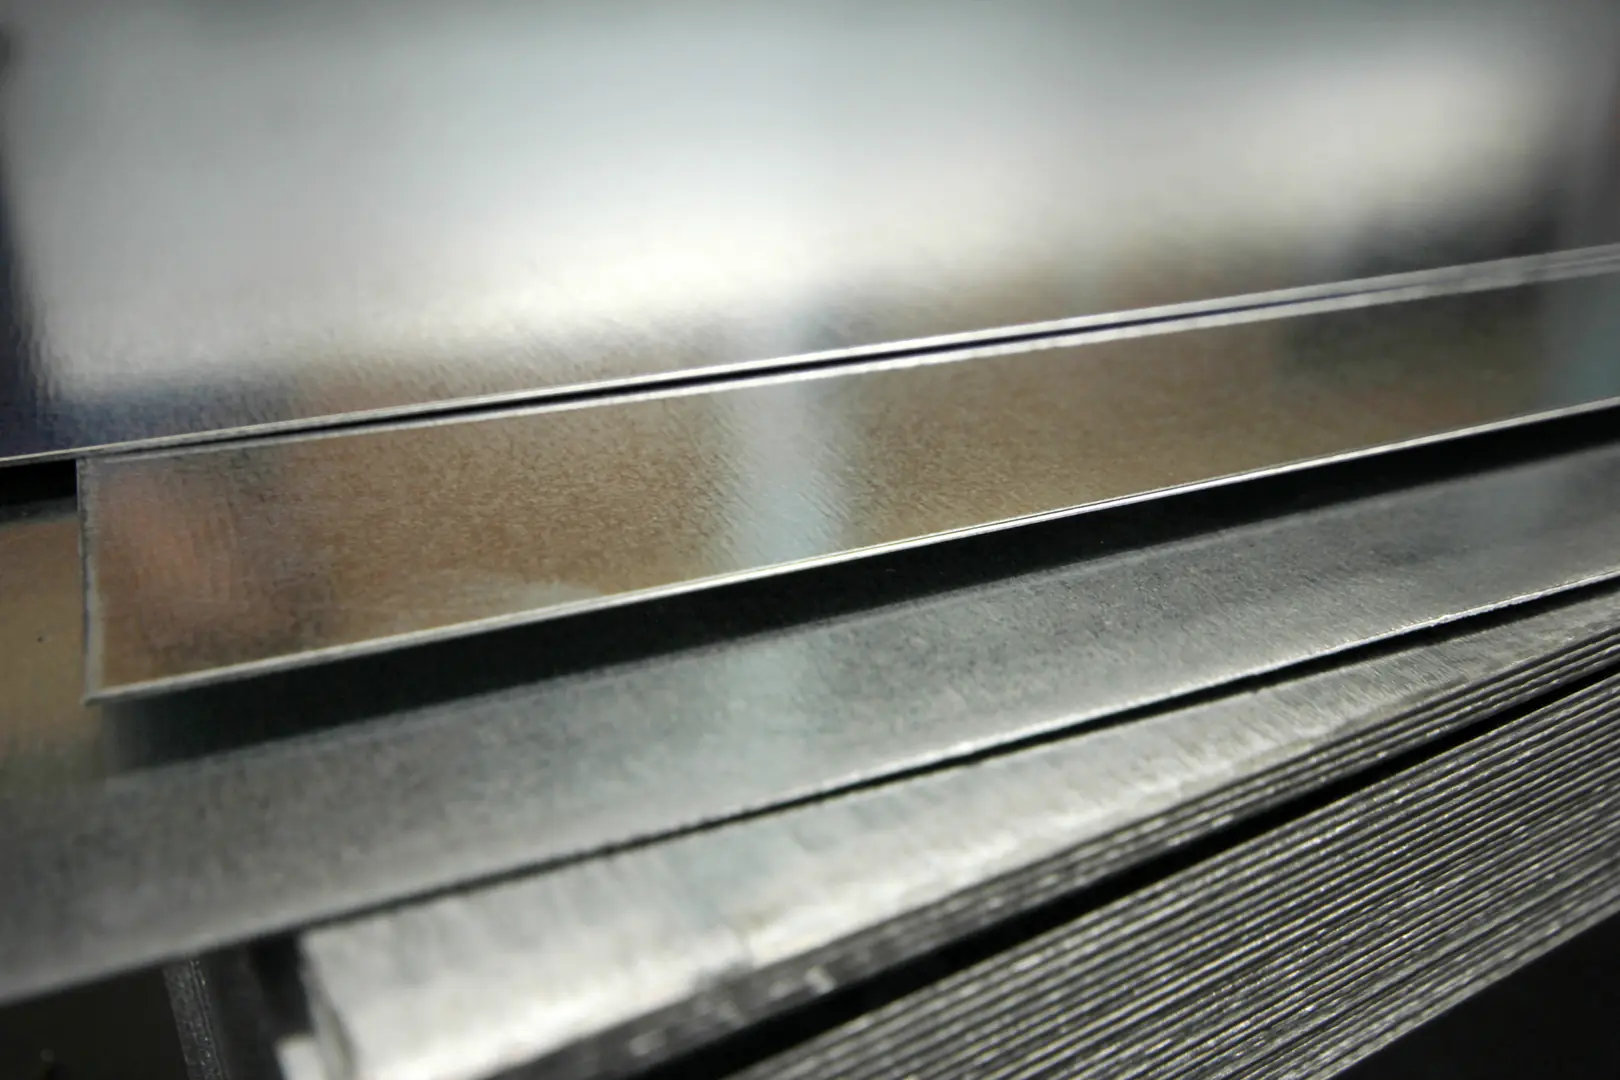
Built-up edge (BUE) occurs when small particles of the workpiece weld themselves to the cutting tool's edge, drastically altering the cutting geometry and leading to a poor finish. Finally, excessive or premature tool wear is a defect in itself, as it directly causes other issues and drives up operational costs through frequent tool replacement. At MFY, we emphasize supplying stainless steel with highly consistent metallurgical properties, because we know that a stable, predictable raw material is the best foundation for minimizing these very issues. A reliable material helps eliminate a major variable from the equation.
| Defect Type | Description | Primary Impact |
|---|---|---|
| Poor Surface Finish | Visible lines, roughness, or burn marks on the surface. | Compromises aesthetics, function, and corrosion resistance. |
| Dimensional Inaccuracy | Part dimensions do not match the design specifications. | Leads to assembly failure and scrapped parts. |
| Work Hardening | The material surface becomes harder during machining. | Increases tool wear and makes further cutting difficult. |
| Built-Up Edge (BUE) | Workpiece material welds to the tool's cutting edge. | Degrades surface finish and cutting efficiency. |
| Excessive Tool Wear | The cutting tool dulls, chips, or breaks prematurely. | Drives up costs and causes other defects. |
What are the Best Techniques for Identifying Defects During Milling?
You're finding defects far too late in the process. This means scrapped parts, wasted machine time, and lost resources. Discover real-time techniques to catch issues the moment they start.
Effective techniques for identifying milling defects include traditional visual inspection, in-process probing, and advanced methods like acoustic emission sensors and thermal imaging. Integrating real-time data analytics allows for predictive detection, shifting from reactive fixes to proactive quality control.

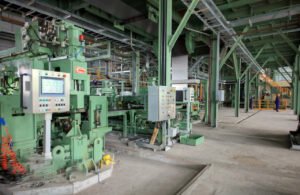
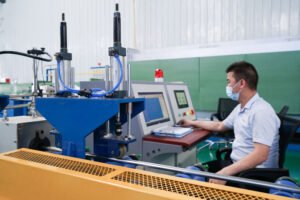
The biggest leap forward in modern manufacturing is the ability to "see" problems as they happen, not after the fact. The old way was to finish a batch, send it to quality control, and hope for the best. Today, technology allows us to embed quality control directly into the milling process. This shift from reactive to proactive management is at the heart of Industry 4.0, and it’s a conversation I have with our partners almost daily. It’s about turning your machine tool into a diagnostic tool.
Traditional vs. Modern Methods
For decades, operators relied on visual inspection and manual measurements with calipers. While still valuable, these methods are slow and catch problems after they've already occurred. In-process probing, where a probe measures the workpiece at various stages without removing it from the machine, was a significant step forward, but it's still a periodic check rather than a continuous one.
The Industry 4.0 Revolution
The real game-changer is the integration of advanced sensors and data analytics. Acoustic emission sensors can "listen" for the high-frequency stress waves generated by tool chipping or cracking. Spindle load monitors track the power being drawn, flagging deviations that indicate a dull tool or work hardening. Thermal cameras can detect excessive heat buildup that precedes tool failure. When you feed all this data into an analytics platform, you can build predictive models. The system learns what a "good" process sounds, feels, and looks like, and can alert you or even adjust parameters automatically when it detects a deviation. This is how we move from fixing defects to preventing them entirely.
| Technique | Type | Detection Speed | Key Advantage |
|---|---|---|---|
| Visual Inspection | Reactive | Slow | Simple and requires no special equipment. |
| In-Process Probing | Reactive | Medium | Improves accuracy without unclamping the workpiece. |
| Acoustic Emission Sensors | Proactive | Real-Time | Predicts tool failure before it happens. |
| Real-Time Data Analytics | Predictive | Instantaneous | Optimizes the entire process to prevent defects. |
How Can You Analyze the Causes Behind Each Milling Defect?
You can see the defect, but you don't know why it's happening. Guesswork leads to more errors, wasted time, and growing frustration. Let's break down how to find the root cause systematically.
Analyzing milling defect causes involves a systematic review of machining parameters (speed, feed, depth of cut), tool condition, workpiece material properties, and machine tool stability. A root cause analysis (RCA) framework helps pinpoint the exact source of the problem for effective resolution.
Finding a defect without understanding its cause is like treating a symptom without diagnosing the illness. You might find a temporary fix, but the problem will return. A structured root cause analysis (RCA) is essential. It forces you to look beyond the obvious and examine the entire system: the machine, the tool, the material, and the process parameters. I often advise our partners to treat every defect as a learning opportunity. A thorough analysis not only solves the immediate issue but also provides knowledge that strengthens your entire operation for the future.
Machining Parameters
This is often the first place to look. Are your cutting speeds too high or too low? Is the feed rate appropriate for the material and tool? Is the depth of cut causing excessive tool pressure or vibration? A small adjustment to one of these three core parameters can often have a dramatic effect on the outcome. For stainless steel, finding the right balance to avoid work hardening is particularly crucial.
Tooling and Machine Condition
The tool itself is a frequent culprit. Is it the right type for the specific grade of stainless steel? Is the coating appropriate? Is it worn, chipped, or improperly seated in the holder? Beyond the tool, look at the machine. Is there any looseness in the spindle or ways that could be causing vibration? Is the workholding secure? Any instability in the system will be transferred directly to the workpiece as a defect.
Material Consistency
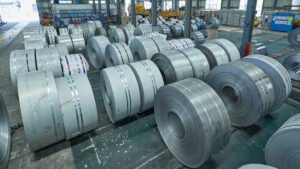
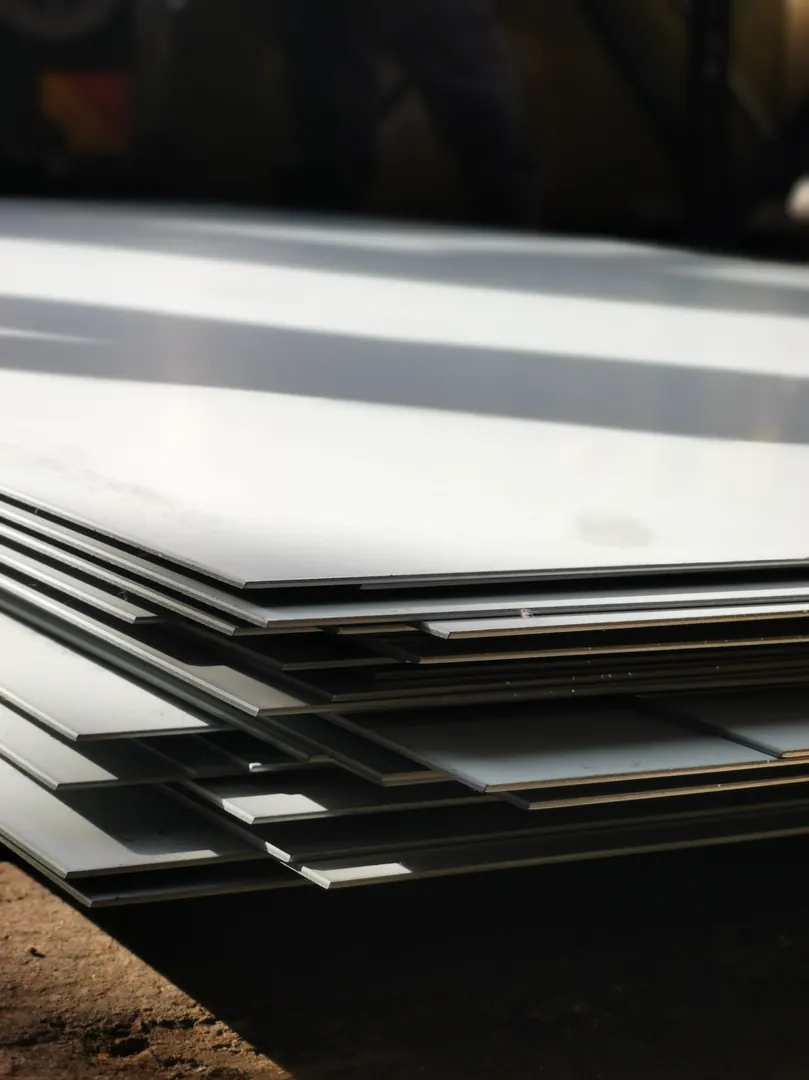
This is a factor that is often overlooked. If the stainless steel you are machining has inconsistent hardness or internal stresses from its production, your perfectly programmed process will still yield defective parts. This is why we at MFY are so obsessed with quality control. By providing material with documented and consistent properties, we help our clients eliminate a major source of uncertainty, making their root cause analysis far simpler.
| Defect | Common Cause: Parameters | Common Cause: Tooling | Common Cause: Material/Machine |
|---|---|---|---|
| Poor Surface Finish | Feed rate too high/low | Worn or chipped tool | Machine vibration, inconsistent material |
| Dimensional Inaccuracy | Incorrect tool offset | Tool deflection or wear | Thermal expansion, loose workholding |
| Work Hardening | Cutting speed too low | Dull tool edge | Inconsistent material hardness |
What are the Most Effective Strategies to Mitigate Identified Defects?
Defects keep recurring despite your best efforts. This constant firefighting erodes profitability and damages client trust. It's time to implement targeted strategies that actually solve the problem.
Effective mitigation strategies include optimizing cutting parameters, selecting appropriate tooling and coatings, using high-quality coolants, and ensuring machine rigidity. For persistent issues, adaptive control systems can adjust parameters in real-time based on sensor feedback to prevent defects from forming.
Once you've identified a defect and analyzed its root cause, the final step is to implement a solution. Mitigation is about taking direct, calculated action. This is where deep process knowledge meets practical application. In our work, we often collaborate with clients to find the right mitigation strategy, because the best solution depends on their specific equipment, goals, and the grade of stainless steel they're working with. A strategy that works for 304 stainless might need adjustment for 316.
Parameter and Tooling Optimization
The most immediate fix is often found in the machining parameters. For a poor surface finish caused by vibration, you might reduce the depth of cut but increase the feed rate. To combat work hardening, increasing the cutting speed and ensuring a constant chip load can help. Selecting the right tool is just as critical. A tool with a sharper cutting edge, a positive rake angle, and a tough, heat-resistant coating like TiAlN (Titanium Aluminum Nitride)[^1] is often essential for successfully milling stainless steel. Don't be afraid to experiment with different geometries and coatings; the investment in premium tooling almost always pays for itself in reduced cycle times and fewer scrapped parts.
The Critical Role of Coolant and Stability
Coolant, or cutting fluid, is non-negotiable with stainless steel. It serves three vital functions: it cools the tool and workpiece, it lubricates the cutting action to reduce friction and BUE, and it flushes chips away from the cutting zone. Using a high-pressure, high-quality coolant directed precisely at the cutting edge is one of the most effective ways to improve both tool life and surface finish. Finally, none of these strategies will work if the underlying machine and workholding setup is not rigid. Ensuring the machine is well-maintained and the part is clamped securely eliminates vibration, which is a primary source of many milling defects.
| Defect Solution | Actionable Strategy | Target Defect(s) |
|---|---|---|
| Optimize Parameters | Adjust speed, feed, and depth of cut based on material and tool. | All defects |
| Select Better Tooling | Use sharp, coated tools with positive rake angles. | Tool Wear, BUE, Work Hardening, Surface Finish |
| Improve Coolant Use | Apply high-pressure, high-quality coolant directly to the cutting zone. | Tool Wear, BUE, Surface Finish |
| Ensure Rigidity | Maintain the machine and use robust workholding to eliminate vibration. | Surface Finish, Dimensional Inaccuracy |
How Can You Implement Best Practices to Prevent Future Defects?
You fix one problem, but then another one appears. This cycle of constant firefighting is inefficient, stressful, and unsustainable. Let's build a system for long-term prevention and stability.
Preventing future defects requires establishing a robust quality management system. This includes regular machine maintenance, comprehensive operator training, standardized operating procedures (SOPs), and a commitment to using consistently high-quality raw materials from a reliable supplier.
The ultimate goal is to create an environment where defects are rare exceptions, not routine events. This requires a shift in mindset—from fixing problems to building processes that are inherently stable and predictable. Prevention is about controlling every variable you can, so that the process delivers consistent results every time. This is the foundation of a truly world-class manufacturing operation. It’s about building quality into the system from the ground up.
The Pillars of Prevention
There are three main pillars to a successful prevention strategy. First is a rigorous Preventive Maintenance Schedule. Your machines must be treated like precision instruments. Regular checks on spindle runout, axis alignment, and lubrication ensure the machine itself is never the source of a problem. Second is Continuous Operator Training. Your team on the floor is your first line of defense. They need to be trained not just on how to run the machines, but on how to identify the early warning signs of a problem—a change in sound, a different-looking chip—and what to do about it. Well-documented Standard Operating Procedures (SOPs) are essential here.
The Supply Chain as a Partner
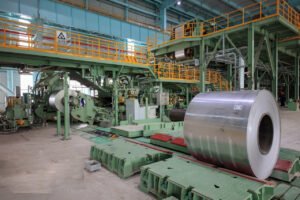
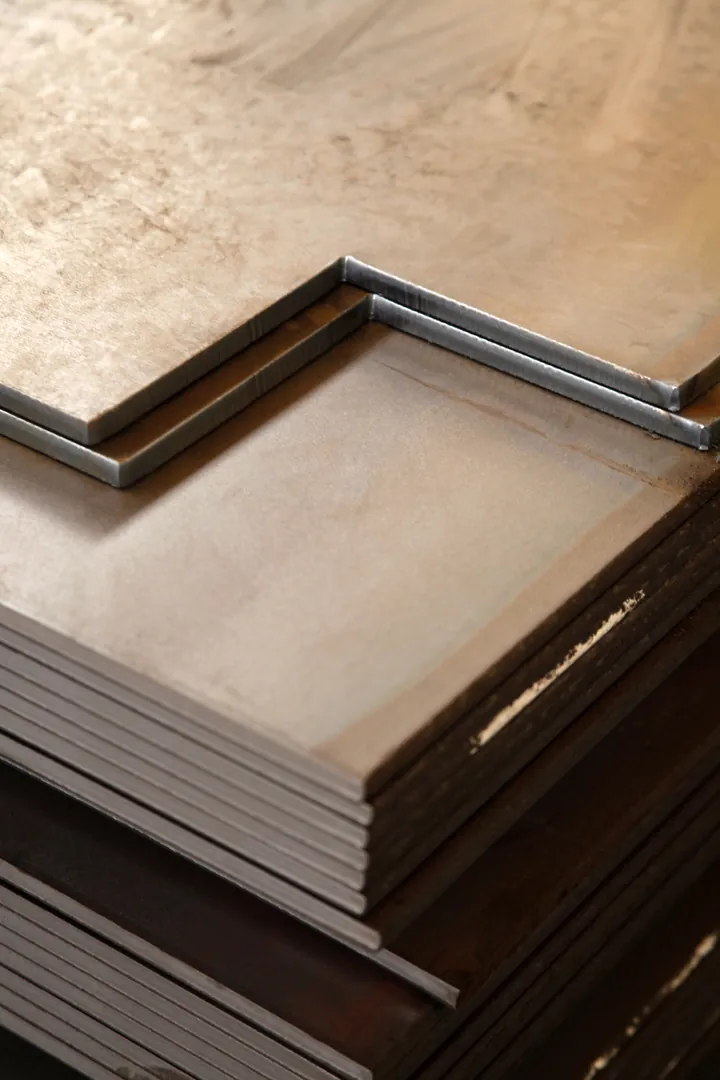
The third and perhaps most crucial pillar is establishing a Reliable and Transparent Supply Chain. As I've mentioned, inconsistent raw material can undermine even the most optimized milling process. This is why at MFY, we see ourselves as more than just a supplier; we are a partner in our clients' success. We provide full material traceability and certification, so our clients know exactly what they are working with. When you can trust that every batch of stainless steel coil or sheet will have the same properties as the last, you eliminate one of the biggest sources of process instability. This partnership is the cornerstone of preventing defects before they ever have a chance to occur.
Conclusion
Mastering stainless steel milling is about moving from reaction to prevention. By understanding defects, using modern technology for identification, and implementing robust, standardized processes, you can ensure quality, boost efficiency, and secure your competitive edge. MFY is here to support that journey with a reliable supply chain.
Have Questions or Need More Information?
Get in touch with us for personalized assistance and expert advice.