How to Install Stainless Steel Countertops in Your Kitchen
Thinking about a professional kitchen upgrade? The complexity of stainless steel installation can be daunting, but the right process ensures a perfect, lasting finish. Let's demystify it together.
A successful stainless steel countertop installation requires precise preparation of the base cabinets, accurate templating and cutting of the steel, and secure bonding with a suitable adhesive. Following professional steps for sealing and finishing ensures durability, hygiene, and a flawless aesthetic for any modern kitchen.

As the Global Business Director at MFY, I've seen countless projects where the choice of material was only half the battle. The true value of premium stainless steel shines through when the installation is executed with precision. Whether you're a developer outfitting a high-end residential tower or a designer crafting a bespoke kitchen, understanding the installation process is key to delivering the quality your clients expect. Let's walk through the critical steps to ensure your stainless steel countertops not only look stunning but also perform for decades to come.
How to prepare your kitchen for a stainless steel countertop installation?
Old countertops in the way? A successful installation starts with a clean slate, but ensuring the base is perfectly level and secure is the real challenge for a professional result.
Preparation involves removing the old countertop, disconnecting plumbing and electrical, cleaning the cabinet tops, and ensuring they are perfectly level and structurally sound. A solid substrate, like MDF or plywood, must be installed if not already present.

Before a single sheet of stainless steel enters the room, the foundation must be flawless. This isn't just about cleaning up; it's about structural integrity. In the high-end residential projects we supply, from urban apartments to luxury villas, developers understand that a premium finish demands a perfect base. Any imperfections in the cabinets will transfer directly to the countertop, causing visible warping or gaps. This is why the preparation phase is non-negotiable for achieving the clean lines and seamless look that define modern, sustainable kitchen design.
The Foundation of Quality
The first step is always a thorough inspection. Check that all base cabinets are securely fastened to the wall and to each other. Use a long level to check for high and low spots across the entire cabinet run.
| Preparation Step | Key Objective | Why It's Critical |
|---|---|---|
| Clear & Disconnect | Remove old tops, sink, and faucet. | Provides a clean and safe working area. |
| Inspect & Secure | Check cabinet stability. | Prevents movement that could damage the new top. |
| Leveling | Use shims to create a flat plane. | Ensures the countertop sits flat without stress points. |
| Substrate Installation | Add a solid base like 3/4" plywood. | Provides a solid surface for adhesion and sound dampening. |
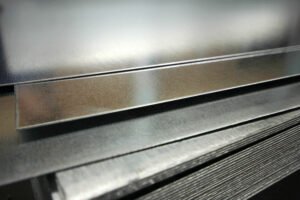
A solid substrate is crucial. Stainless steel is a relatively thin material, so it relies on the underlying wood for its rigidity and to prevent a hollow, drumming sound during use. We always advise our partners—interior designers and contractors—to specify a high-quality, moisture-resistant MDF or plywood base. This small detail elevates the final product from just a countertop to a solid, premium-feeling work surface that meets the high expectations for durability and longevity.
What tools and materials are needed for installing a stainless steel countertop?
Ready to begin? Gathering the right equipment beforehand is crucial. Without the proper tools and materials, you risk a sloppy installation and potential damage to the expensive steel.
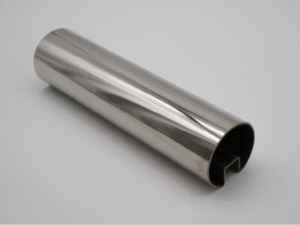
You will need measuring tools, a jigsaw with a fine-tooth metal blade, files, adhesive (like liquid nails or construction adhesive), clamps, a caulk gun for sealant, and safety gear. The primary material is a sheet of stainless steel, typically 304-grade, 16-gauge.

Selecting the right grade of stainless steel is as important as having the right tools. For kitchen environments, we almost exclusively recommend 304-grade stainless steel[^1]. I remember a client, a developer for a coastal hotel chain, who was considering a lower grade to cut costs. We explained how the 304 grade's chromium and nickel content provides superior corrosion resistance against salt, food acids, and harsh cleaning chemicals—essential for both hygiene and long-term appearance. Choosing the right material from the start is the most effective way to protect the investment and ensure the product aligns with the growing consumer demand for durable, low-maintenance, and sustainable building materials.
Your Installation Toolkit
The right tools ensure precision, while the right materials guarantee longevity. Here’s a breakdown of what professionals use to get the job done right.
| Category | Item | Purpose |
|---|---|---|
| Measuring & Marking | Tape Measure, Carpenter's Square, Marker | For creating an accurate template and marking cuts. |
| Cutting & Shaping | Jigsaw (metal blade), Metal File | For cutting sink/faucet holes and smoothing edges. |
| Adhesion & Securing | Construction Adhesive, Clamps, Caulk Gun | For bonding the steel to the substrate and sealing edges. |
| Safety | Safety Glasses, Gloves | To protect against sharp metal edges and debris. |
| Materials | 16-Gauge 304 Stainless Steel, Plywood Substrate | The core components for a durable, corrosion-resistant top. |
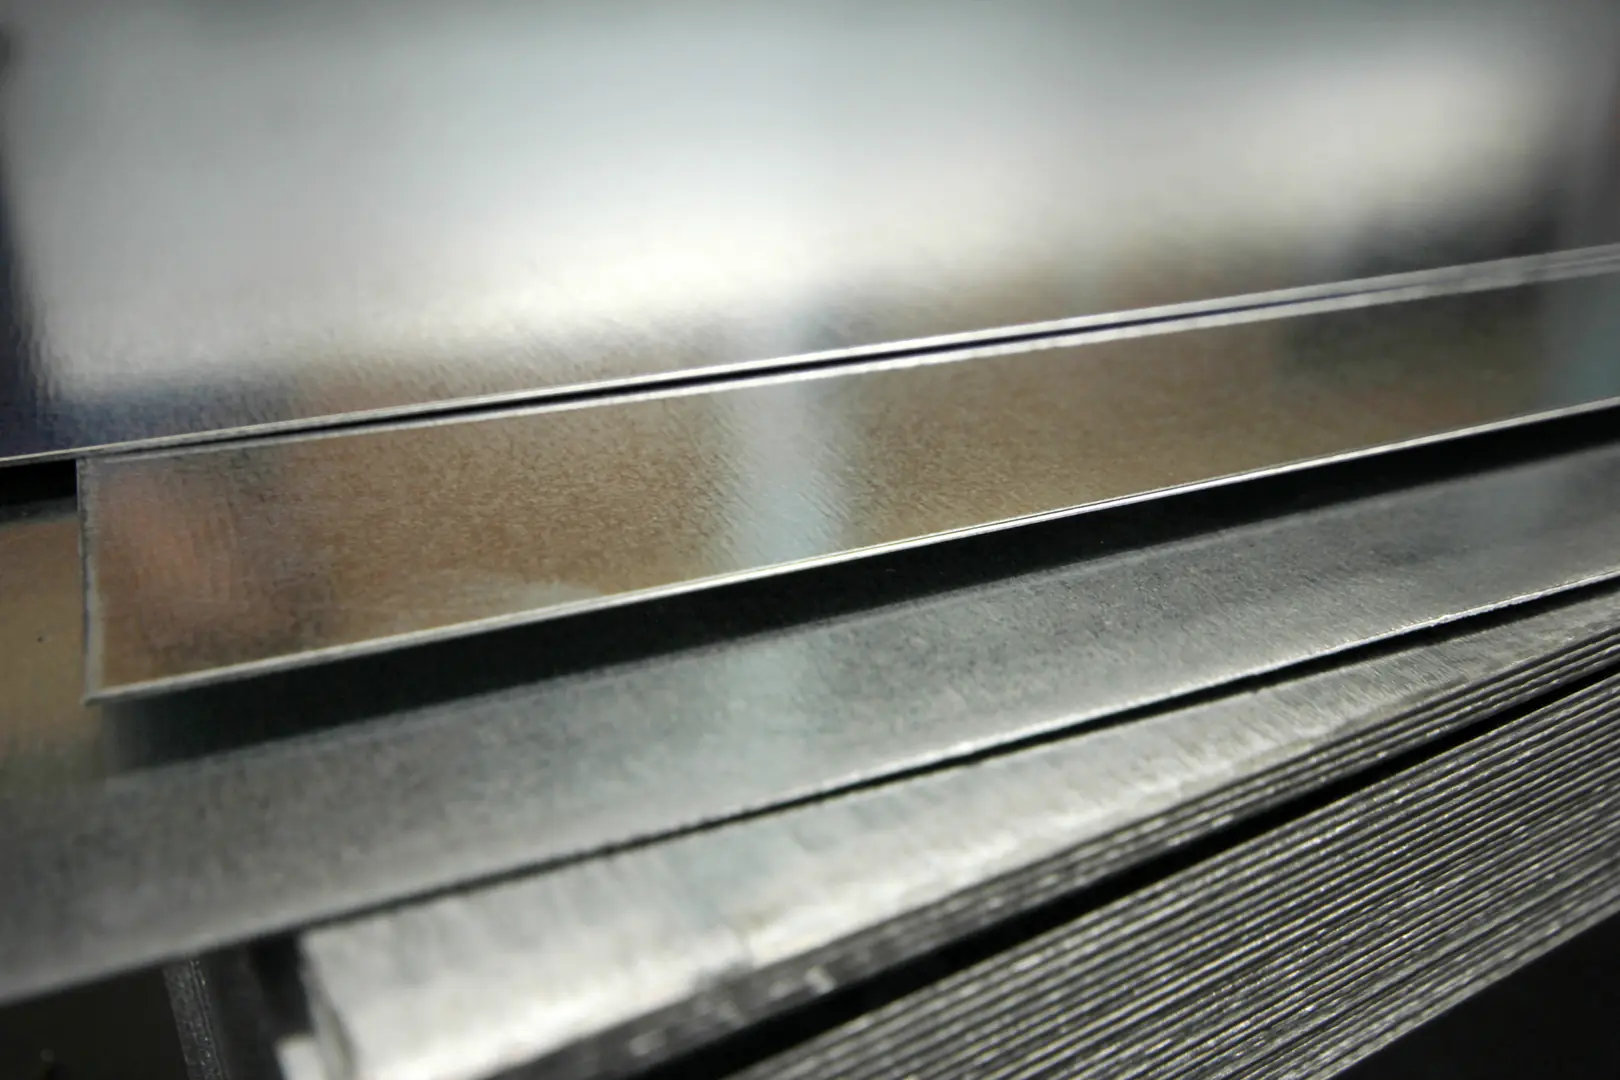
While a DIY approach is possible for the brave, the precision required for cutting stainless steel without warping or leaving burred edges is significant. This is why most high-end residential and commercial projects rely on professional fabrication. Suppliers like MFY deliver pre-cut and pre-formed countertops based on exact specifications, ensuring the most difficult part of the job is already handled with industrial precision. This guarantees the flatness and edge quality that are simply unachievable with hand tools alone.
Step-by-step guide to measuring and cutting the stainless steel countertop?
Unsure how to get the perfect fit? Inaccurate measurements or poor cutting techniques can ruin an expensive piece of steel, causing costly delays and a compromised final look.
First, create a precise template of your countertops using cardboard or lauan strips. Transfer this template to the stainless steel sheet. For straight cuts, use a circular saw with a metal-cutting blade; for sink cutouts, drill pilot holes and use a jigsaw.
The mantra for this stage is "measure twice, cut once," but I'd add "template first." Creating a physical template is a non-negotiable step for our most successful partners, especially in older buildings where walls are rarely perfectly square. I recall a project with an interior designer in Europe who was renovating a historic apartment. The kitchen walls were visibly uneven. By creating a detailed template, the fabricator could cut the stainless steel to follow the wall's contours perfectly, resulting in a seamless, gap-free installation that looked incredible. This level of precision is what separates a standard job from a high-end, bespoke finish.
From Template to Perfect Cut
Accuracy at this stage dictates the quality of the entire project. While professionals use specialized equipment, understanding the process is key for any project manager.
Creating the Template
A perfect template is the blueprint for your countertop.
- Lay Material: Place cardboard or thin plywood strips over the cabinets.
- Trace Outline: Carefully trace the exact shape, including the overhang (typically 1.5 inches).
- Mark Cutouts: Precisely mark the locations for the sink, faucet, and any other fixtures.
- Verify Fit: Double-check that the template fits perfectly in the space before proceeding.
Cutting the Steel
This step requires patience and the right technique.
- Secure the Sheet: Clamp the stainless steel sheet firmly to a workbench with the substrate already attached underneath. This reduces vibration and ensures a cleaner cut.
- Use a Guide: For long, straight cuts, clamp a straightedge to the steel to guide your saw. This is essential for a professional-looking edge.
- Cut Slowly: Let the tool do the work. Pushing too hard can warp the metal or burn out the blade. Use a lubricant or cutting oil to keep the blade cool.
- File Edges: After cutting, always use a metal file to de-burr and smooth any sharp edges for safety and a clean finish.
Given the difficulty and the need for specialized tools, we always recommend that developers and designers work with experienced fabricators. This ensures the cuts are clean, the corners are perfect, and the final piece matches the template with absolute precision.
How to securely attach the stainless steel countertop to the kitchen base?
You have a perfectly cut countertop. Now what? Simply laying it on top isn't enough; improper adhesion can lead to lifting, rattling, and an unprofessional, hollow sound during use.
Apply a generous amount of construction adhesive in a serpentine pattern to the top of the cabinet base or substrate. Carefully lower the stainless steel countertop into place, press down firmly, and use clamps or weights to ensure a tight bond while it cures.

The adhesion process is about more than just glue; it's about creating a single, solid unit. The goal is to eliminate any air gaps between the steel and its substrate. This provides critical sound-dampening and gives the countertop a substantial, high-quality feel. In the commercial kitchens and high-end residences we supply, the expectation is a surface that feels robust and silent. This is achieved through complete and uniform adhesion. It’s a simple step, but one that makes a huge difference in the user's perception of quality and durability.
Achieving a Rock-Solid Bond
Properly securing the countertop ensures it will remain stable and quiet for its entire lifespan. The key is uniform contact and pressure.
The Adhesion Process
- Prepare Surfaces: Ensure both the underside of the steel and the top of the substrate are clean, dry, and free of dust or oils.
- Apply Adhesive: Use a high-quality construction adhesive designed for metal and wood. Apply it liberally in an 'S' pattern across the entire surface, staying about an inch from the edges to prevent squeeze-out.
- Position the Countertop: With a helper, carefully lower the countertop onto the base, aligning it precisely with the cabinet fronts.
- Apply Pressure: Press down firmly across the entire surface to spread the adhesive evenly. Use weights (like books or paint cans) or clamps along the edges to hold it securely in place while the adhesive cures, typically for 24 hours.
Sealing for Hygiene and Longevity
Once the adhesive has cured, the final step is sealing the perimeter.
- Backsplash Seal: Apply a thin bead of clear or colored silicone caulk[^2] where the countertop meets the backsplash. This prevents water from seeping behind the cabinets.
- Sink Seal: If you have an undermount sink, ensure it is properly sealed to the underside of the countertop with silicone to create a watertight barrier.
This meticulous sealing is crucial for hygiene, a key reason clients choose stainless steel. It creates an unbroken, non-porous surface that is easy to clean and resistant to bacteria, making it an ideal choice for both residential and commercial applications.
Finishing touches: How to polish and maintain your new stainless steel countertop?
The countertop is installed, but how do you keep it looking brand new? Proper cleaning and maintenance are essential to preserve the sleek, modern aesthetic and prevent smudges or scratches.
For daily cleaning, use a soft cloth with mild soap and water, always wiping in the direction of the grain. For polishing, apply a specialized stainless steel cleaner or mineral oil. This will remove fingerprints and create a protective barrier.
The beauty of stainless steel, and a major factor in its selection for sustainable building projects, is its incredible longevity and low maintenance requirements. Unlike stone or wood, it never needs to be resurfaced or resealed. Its non-porous nature makes it inherently hygienic and easy to clean. By educating clients on these simple maintenance steps, we help them protect their investment and fully appreciate the material's practical benefits. This focus on long-term value and ease of use is a core part of our mission at MFY.
Preserving the Perfect Finish
Maintaining your stainless steel countertop is simple. The key is consistency and using the right products.
Daily Care and Polishing
A simple routine is all that's needed to keep the surface looking its best.
| Maintenance Task | Recommended Product | Frequency |
|---|---|---|
| Daily Wiping | Soft cloth, warm water, mild dish soap | Daily, after use |
| Removing Smudges | Microfiber cloth, stainless steel cleaner | As needed |
| Deep Polishing | Mineral oil or olive oil | Monthly |
| Disinfecting | White vinegar and water solution (1:1) | Weekly or as needed |
Always remember to wipe and polish in the direction of the grain lines in the steel. This helps avoid micro-scratches and enhances the material's natural luster.
The Future of Countertops
The functionality of stainless steel is also evolving. As we look forward, we're seeing a growing trend of integrating smart technology[^3] directly into countertops. Imagine a surface with built-in sensors that can weigh ingredients or integrated wireless charging pads for your devices. Because stainless steel is durable and can be precisely fabricated, it's the perfect material for these smart home innovations. This fusion of classic durability with modern technology is what makes it such an exciting choice for forward-thinking designers and developers.
Conclusion
Installing a stainless steel countertop is a project that demands precision at every stage, from preparation to final polish. By following these professional guidelines, you can ensure a durable, hygienic, and beautiful result that elevates any modern kitchen design and delivers lasting value for years to come.
Have Questions or Need More Information?
Get in touch with us for personalized assistance and expert advice.